Have you ever laid eyes on the majestic crowns worn in ancient Greek or Roman times? They were adorned with leaves and stems, particularly featuring the bay laurel leaf.
Although popular in Greek and Roman history, the bay laurel leaf is actually a delicate and flavorful herb that adds a special touch to culinary creations.
When it comes to cooking, bay laurel is renowned for its strong flavor, making it a perfect addition to stews and soups. Often combined with thyme, sage, rosemary, and tarragon, these herbs create a delightful blend when simmered together in a broth. The result is truly delicious!
Therefore, cultivating bay laurel in our own gardens can be incredibly advantageous. In this article, we will explore the process of growing bay laurel at home, from understanding its soil requirements to ensuring proper care. Let’s delve into this exciting endeavor.
Bay Laurel Varieties
Before we embark on the journey of planting bay laurel, it is essential to familiarize ourselves with the various varieties available. By understanding the unique characteristics of each variety and considering your specific hardiness zone, you can make an informed decision on which bay laurel variety to choose.
Laurus nobilis ‘Angustifolia’
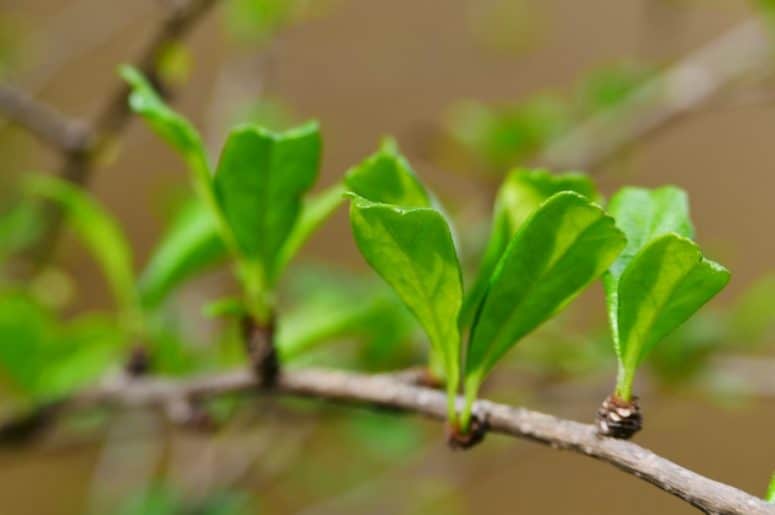
The Laurus nobilis ‘Angustifolia’, commonly known as the willow-leaf laurel, is renowned for its slender leaves that create a stunning texture when the plant is pruned.
When considering the hardiness of this variety, it is important to note that the Laurus nobilis ‘Angustifolia’ thrives in warmer temperatures and prefers protection from the harsh cold of winter.
Laurus nobilis ‘Aurea’
Another noteworthy variety of bay laurel is called ‘Aurea.’ Similar to the previous variety, ‘Aurea’ thrives in warmer hardiness zones and benefits from protection against cold winters. However, it’s worth noting that this particular variety requires even greater protection during severe winters.
Laurus nobilis ‘Undulata’
The final commonly found variety of bay laurel is known as ‘Undulata.’ What sets this variety apart is its charming wavy and rippled leaf edge. It is advisable to remove the ‘Undulata’ leaves before serving your food, as their unique texture may not be ideal for consumption.
How to Grow Bay Laurel
-
Soil Requirements
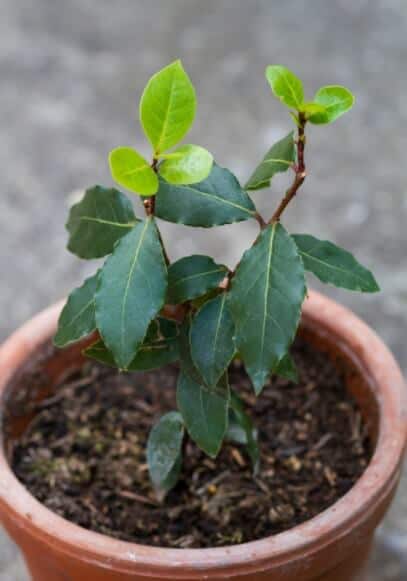
The soil plays a crucial role in the successful cultivation of herbs, including bay laurel. This herb is known for its versatility when it comes to soil requirements. All you need is well-draining soil to plant bay laurel in your home garden.
Bay laurel is highly adaptable and has the potential to grow quite tall. Therefore, it’s important to keep pruning in mind as part of its regular maintenance.
When transplanting a bay laurel plant from a container to the ground in your garden, it is essential to ensure that you plant it at the same depth as it was previously planted. This attention to detail will contribute to the plant’s healthy establishment in its new location.
-
Sun Requirements
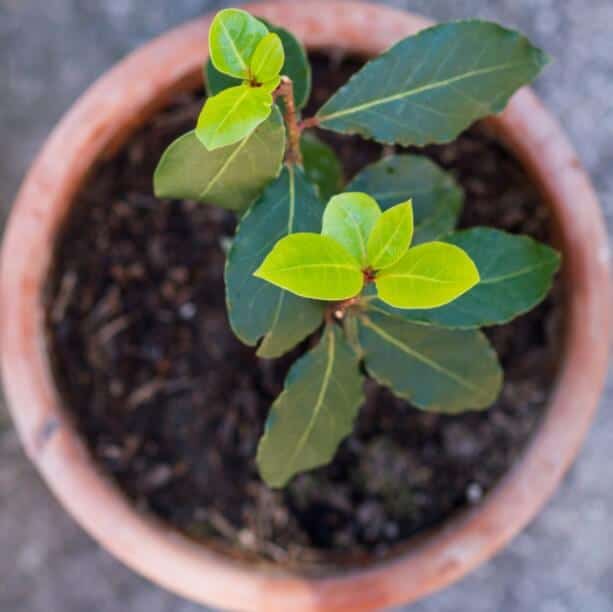
Bay laurel thrives in full sun exposure, although it can still tolerate some shade. This makes summer the ideal time for planting bay laurel, as the afternoon shade provides favorable conditions for its growth.
For those interested in growing bay laurel indoors, it is crucial to place the container in the sunniest spot available within the house. However, it’s important to note that all bay laurel plants are best kept indoors when temperatures drop, ensuring they are protected from harsh weather conditions.
-
Hardiness
-
Water
It’s important to keep in mind that bay laurel has shallow roots. Therefore, it requires frequent watering, especially during dry periods. Ensure that you water your bay laurel plants regularly, but allow the soil to dry out between watering sessions.
The same watering principles that apply to other herbs also hold true for bay laurel. Avoid overwatering the soil, as it can lead to root rot and negatively impact the health of your bay laurel plant.
-
Fertilizer
To ensure optimal nutrition for bay laurel, it benefits from the application of organic fertilizers such as kelp or fish emulsion. These supplements are particularly helpful because bay laurel is known for its slow growth.
When applying liquid fertilizers to the soil, it is important to exercise caution and avoid damaging the shallow roots of the bay laurel plant. Be mindful of the application process to prevent any harm and promote the healthy development of your bay laurel.
-
Mulch
In certain instances, the use of mulch can be beneficial for various plants, including certain herbs. Mulching involves covering the soil with materials like sawdust or compost, serving multiple purposes such as reducing evaporation, regulating soil temperature, controlling weed growth, and enriching the soil with nutrients.
Now, let’s consider whether bay laurel benefits from mulching. Indeed, mulching can assist in the growth of bay laurel by providing insulation to the soil. However, it’s important to note that the mulch should be removed in the spring to allow the soil to naturally dry out more quickly under the sun’s influence. This precaution helps maintain the ideal moisture balance for the bay laurel plant.
-
Pruning
-
Division
Dividing bay laurel through root division is a viable method for regrowing this herb, similar to propagating it through stem cuttings.
To begin, trim the stems and remove any flowers present. Then, leave a few inches of the root intact and place it in a glass of water. Within a few weeks, you will observe new plants sprouting from the root. Once they have developed sufficient growth, you can transplant them into soil for further cultivation.
Best Methods to Grow Bay Laurel
Stem Cutting
One of the most commonly used and effective methods for growing bay laurel is through stem cuttings. This involves taking a cutting from an existing bay laurel plant and using it to propagate a new one.
The process is relatively straightforward. Begin by cutting a section of the top stem, approximately 6 inches in length. Remove all but a few full leaves from the cutting. Then, place the cutting in a pot, ensuring it remains adequately moist and kept away from direct sunlight. This method allows the cutting to establish roots and grow into a new bay laurel plant.
Growing from Seed
When working with dried bay laurel seeds, it’s important to note that their germination rates are typically lower compared to fresh seeds.
To grow bay laurel from seeds, start by sowing the seeds in a flat tray filled with soil. Space them approximately 5cm apart and press them gently into the soil. Use a spray bottle to dampen the soil in the tray.
As the seeds begin to germinate, it’s crucial to keep the soil consistently moist until they are slightly dried out. The germination period can vary, ranging from 10 days up to 6 months. Once the leaves start to appear, you can transplant the seedlings into pots or directly into your garden for further growth and development.
How to Care for Bay Laurel
Pests/Disease
The great news is that bay laurel is generally resistant to pests! However, on rare occasions, you may come across moths laying their eggs between the leaves, causing them to stick together.
If you encounter this situation, simply and carefully separate the affected leaves, ensuring to remove any eggs or larvae that may be present. By doing so, you can effectively address this minor issue and maintain the health of your bay laurel plant.
Propagating Bay Laurel
When it comes to propagating bay laurel, it’s important to keep in mind that these plants can grow to impressive heights, reaching up to 75 feet or 22 meters. Therefore, when cutting stems for propagation, it’s crucial to handle them with care, as the branches carry a delightful fragrance that adds a special touch to culinary endeavors.
Additionally, it’s worth noting that the climate plays a significant role in the propagation process. If you plan to propagate bay laurel in various locations or different hardiness zones, it’s advisable to check the temperature suitability beforehand. This consideration ensures optimal conditions for successful propagation and growth.
Harvesting Bay Laurel
Bay laurel, being a perennial herb, offers the flexibility to plant it throughout the year. Unlike some other herbs that tend to lose their fragrance and flavor as they bolt, bay laurel retains its aromatic qualities.
When it comes to harvesting, you have the option to use bay laurel leaves either fresh or dried. To gather the leaves, carefully pluck them from the stems. It’s important to avoid taking the entire leaf at once, as this could potentially hinder the plant’s growth. By selectively harvesting leaves, you encourage continued growth and ensure a steady supply of fresh bay laurel for your culinary endeavors.
Storing Bay Laurel
At last, the time has come to store our precious bay laurel!
Dried bay laurel is the preferred choice for many individuals. It’s the variety commonly found in stores and nurseries throughout the city. The reason behind this preference is that dried bay laurel tends to possess a more potent aroma compared to its fresh counterpart.
To properly store bay laurel, place it in a jar and ensure it is kept away from direct sunlight. It is recommended to use the stored bay laurel within a month to maintain its aromatic qualities. After this period, the leaves may lose their fragrance.
Here’s a helpful tip: consider adding some silica gel to the jar where you store your bay laurel. This will help prevent the growth of molds, as silica gel has the ability to absorb moisture. By implementing this method, you can ensure that your stored bay laurel remains in optimal condition for longer periods.