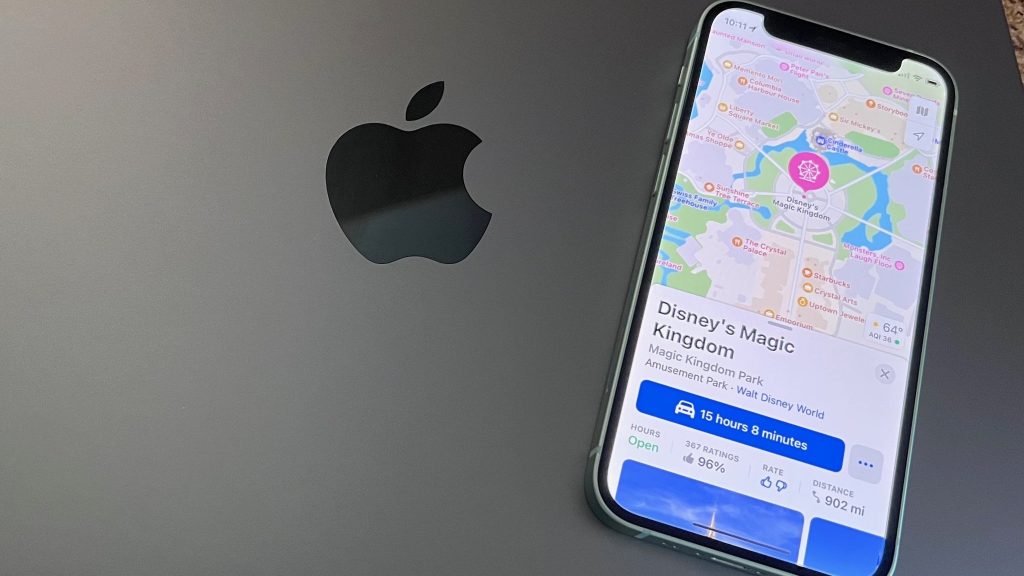
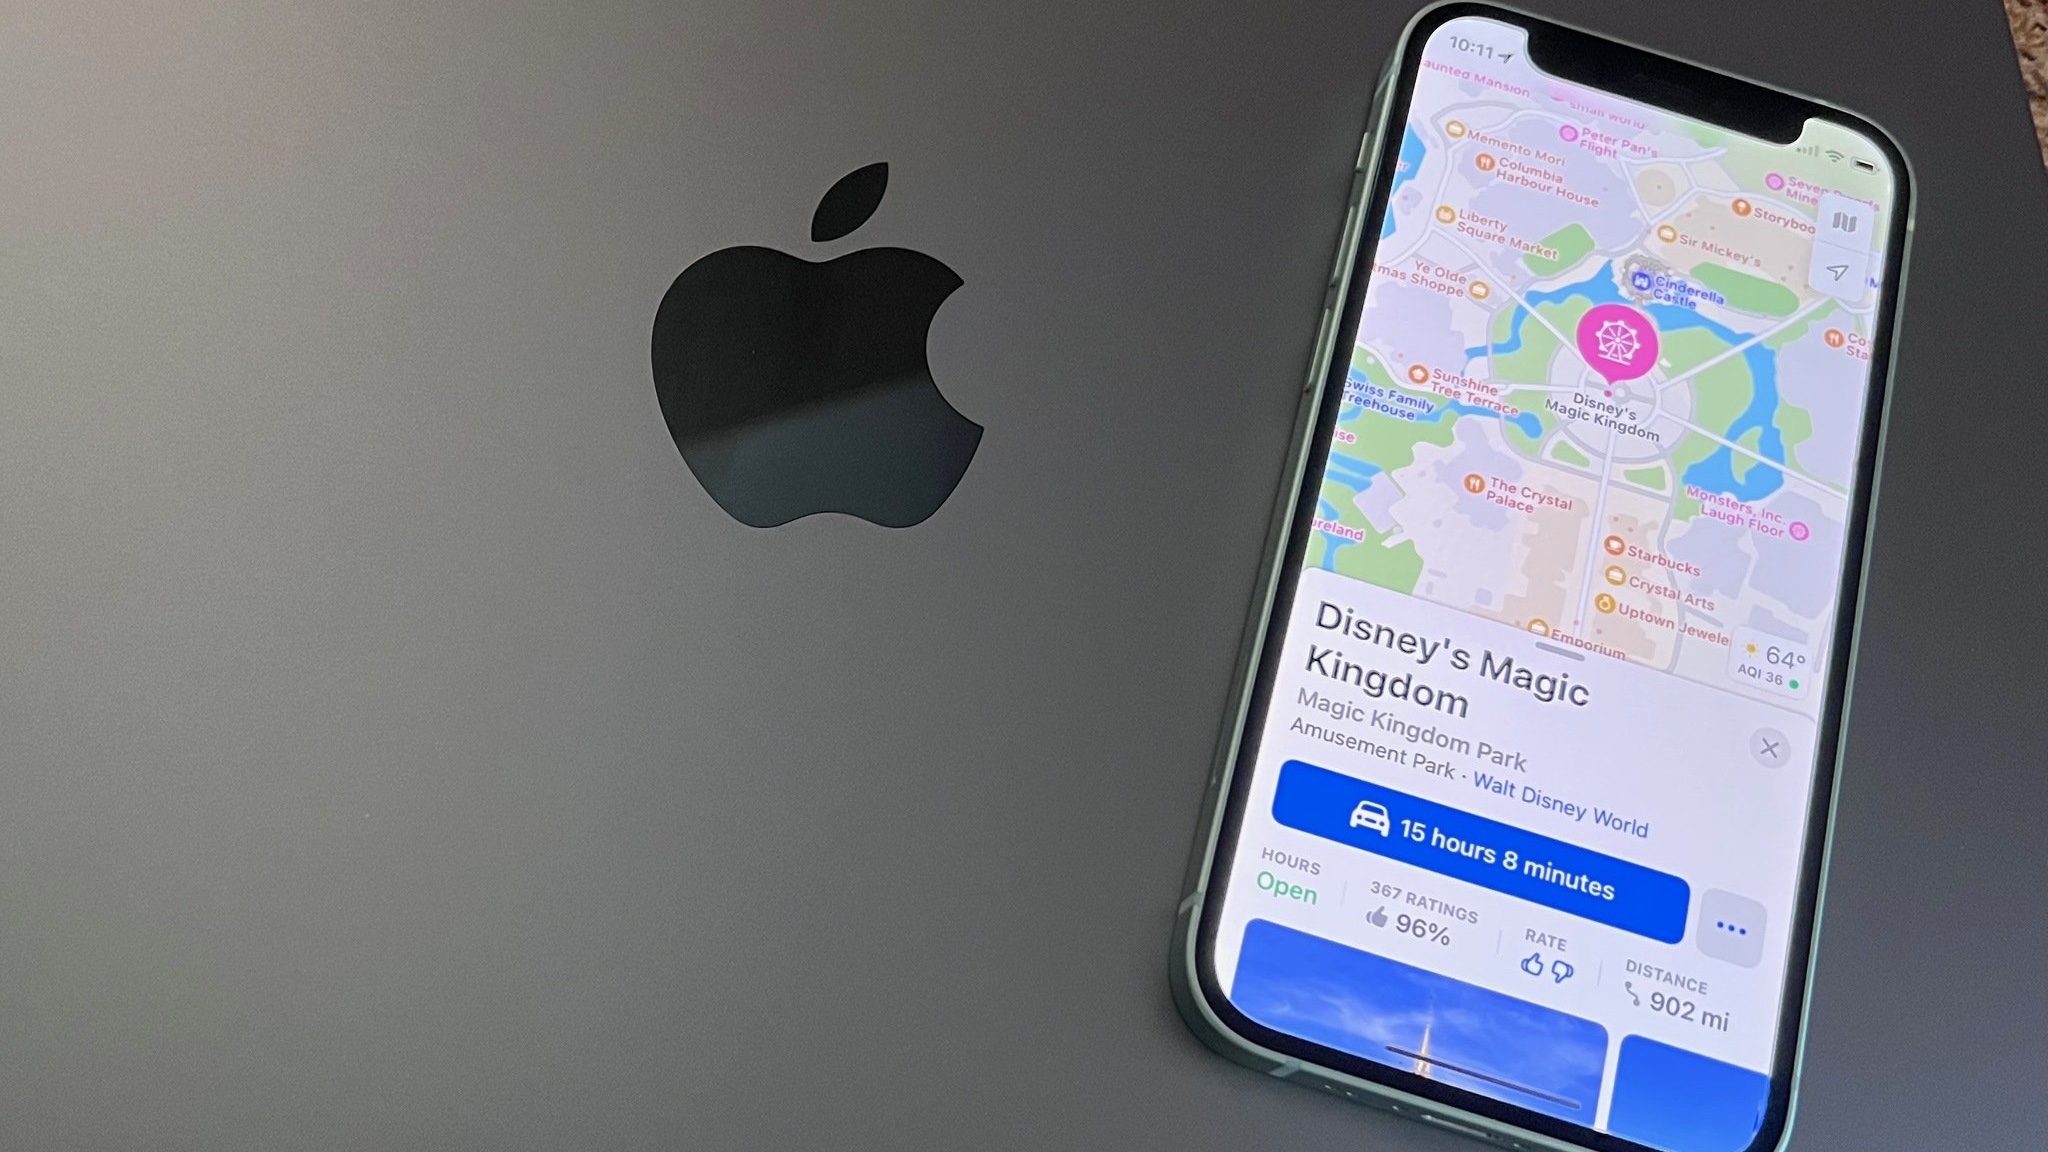
Pinpointing a location on your iPhone is as easy as pie. Essentially, all you need to do is long press on the desired location in Apple Maps. If you require more detailed instructions, continue reading.
Pinning a Location on iPhone
Apple Maps is a built-in, cost-free application for iPhones and iPads. If you are learning how to pin a location on an iPhone, this guide focuses specifically on how to do so using Apple Maps. In case you don’t have Apple Maps on your device, it’s readily available for download on the App Store.
Here are the steps to pin a location on your iPhone:
- First, launch Apple Maps on your iPhone.
- The device’s current location will be visible, marked by a blue pin and highlighted. However, you can still place a pin anywhere even if your specified location isn’t visible.
- In Apple Maps, locate where you’d like to pin.
- You can enlarge the location by pinching in and out with your fingers, or by swiping across your device’s screen.
- Once you’ve selected the location, long press on it. A red pin will then appear. If this is accurate, you can stop here.
What Actions to Take After Pinning a Location in Apple Maps

Once a location is pinned, a red pin icon will be displayed. Tapping on the pin will open an information panel which shows the address, coordinates, and distance from your current location. If you wish to navigate, click on the blue icon located at the top left of the screen.
On the panel, you’ll find additional options:
- After pinning a location, long press the coordinates or address to copy it to your iPhone.
- You can report missing information from the location to Apple by clicking “Add to Maps.”
- If you wish to add a pinned location to your favorites, click “Add to favorites.”
- To permanently remove a pin from your favorites, select the “Remove” option.
- In the Marked Location tab, select “Share” to send the pinned location via iMessage or text message.
Adjusting or Moving a Pinned Location
After pinning a location, you might want to move it. Here’s how:
- Once a pin is placed, several options will appear at the bottom of the screen. Select “Move Pin.”
- A satellite image of your chosen location will appear. You can adjust the pin’s position here. Be as precise as you want when selecting the location.
- Once you’re happy with the location, simply select “Done.” This will take you back to the main Maps page.
How to Get Directions to the Pinned Location

Now that we’ve learned how to pin and move locations, let’s find out how to get directions to the pinned location:
- After pinning a location in Apple Maps, several options will appear at the bottom of the screen.
- Select “Directions” to get directions to your chosen location.
- Apple Maps will display all possible routes to the location. Swipe across your device’s screen to view all the directions.
- Once a route is selected, click on the green “Go” option.
Adding a Pinned Location to a Contact
If you’d like to add the pinned location to a contact, you can choose either a new contact or an existing one.
- Select either “Create New Contact” or “Add to Existing Contact.”
- Once selected, Apple Maps will attach the location to the chosen contact.
- Use Siri for quick directions to friends and family.
Adding a Pinned Location to Favorites
You can add a location to your favorites. Just swipe up and select the “Add to favorites” option. You can access your favorites list from the Apple Maps home screen:
On the home screen, you’ll find a list of your favorite locations.
Click on any to view all directions to the specified location, including all possible driving and walking routes.
Sharing Pinned Locations
After placing a pin, tap on it, choose the address from the list, and select “Share” to share a pinned location with a friend.
Frequently Asked Questions
How Can I Pin a Location on iPhone?
Just long press the desired location in Apple Maps.
How Can I Pin a Location on iPhone iMessage?
It’s as simple as sharing a WiFi password. To pin a location on iPhone iMessage, launch Maps on your device, select a place or location on the map, and long press on it. This will pin the location. Click on the location’s name or address at the bottom of the screen and select “Share.”
If you don’t see this option, click on the “Menu” or three vertical dots, select the “Share” option, choose “iMessage” and share the location link.
You can also use Facebook Messenger or Whatsapp for Android to iPhone transfers or vice versa.
How Can I Pin a Current Location on iPhone?
To pin your current location on an iPhone, simply tap on the blue dot representing your current location in Maps. Tap on the blue arrow on the right side of the menu that pops up and click on “Share a location.” To pin, tap on the bottom right corner and choose “Drop Pin,” or simply long press on it.
Final Words
Hopefully, this guide has helped you understand how to pin a location on an iPhone using Apple Maps. If you have any further queries, feel free to leave them in the comments section.
