Whether you’re an amateur or a tech-savvy Mac enthusiast, the art of taking screenshots on Mac devices is a skill you’ll undoubtedly need sooner or later. Have you ever wondered how to capture a screenshot on a MacBook Air specifically? Well, fear not, as the process is the same for MacBook Air and Pro models, and we’ll dive into that while leaving iPhones and iPads aside in this piece.
Now, let’s uncover the secrets of taking swift and efficient screenshots on Mac desktops and laptops, including a Mac screenshot shortcut that will amplify your productivity. Note that all these methods apply to all Mac computers, but alas, they won’t work on Windows-based Mac alternatives.
Let’s set you up with some useful ideas on how to snap your Mac screenshot.
Option 1: Embrace the Default Shortcut – Command+Shift+4
Begin your journey with the realm of keyboard shortcuts – the masterful and effortless approach to screenshotting on Mac. Just press the magical combination of Command + Shift + 4 simultaneously. Then, wield your cursor to select the desired area to immortalize as your Mac device’s screen capture.
Click the mouse or tap the enter key when you’re satisfied, and behold the image resting in the embrace of your Macintosh HD > Pictures > Screenshots folder. However, if you prefer a different spot, such as your desktop, you can customize the screenshot’s destination accordingly.
Option 2: Embrace the New Built-In Screenshot Tool – Command + Shift + 5
A dazzling alternative to screenshot on a MacBook Pro is Apple’s latest macOS Mojave, which houses a formidable screenshot tool with exceptional prowess. With this tool, you can unleash your creativity by editing your screenshots instantly, incorporating text, shapes, and even emojis.
Activate this power by uttering the sacred incantation “Command + Shift + 5” and witness your captured screenshot manifest as a tiny icon on the screen. A mere click will reveal its full glory, complete with a “Tools” menu harboring various editing functions.
Before you embark on your screenshot quest, the options lay before you:
- The leftmost trio of icons holds the essence of screenshotting
- The subsequent duo cater to video screenshots
- The Options menu conceals an abundance of advanced features
- Capture shall execute the screenshot in the sacred area of your choice
Truly, this represents the epitome of advanced screenshot mastery, be it a MacBook Air, a MacBook Pro, or any of Apple’s other glorious Mac-based offspring.
The Mini Preview
As you summon your screenshot prowess, rejoice in the ephemeral splendor of a floating thumbnail that graces your Mac screen for a fleeting moment. This brief apparition confirms the successful execution of your screenshot and bestows upon you a miniature preview.
Option 3: Record a Moving Screenshot Using Mac Screenshot Shortcut
Venture into the realm of video captures by invoking the sacred words “Command + Shift + 5.” Within your grasp lie the fourth and fifth icons, each opening a gateway to a different realm. The fourth heralds a recording of the entire screen, while the fifth promises to capture a selected fragment of your choosing.
Option 4: Unlock the Power of Preview for Mac Screenshots
Enlightenment awaits those who seek to harness the power of Preview, a realm where capturing screenshots becomes a breeze. Venture forth to the Preview menu or seek the icon reminiscent of an hourglass-adorned photograph.
Click “File” within the menu, then select “Take Screenshot From Selection/Window/or Entire Screen.”
Behold, your treasured screenshot shall be preserved in the annals of your designated folder. Within the realm of “Preview,” you hold the key to further editing your cherished screenshot.
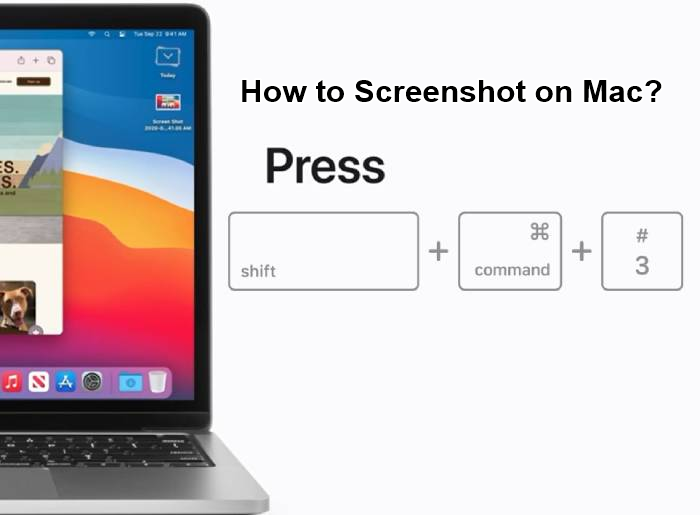
Option 5: The Full-Screen Print Screen on Mac Computers – Command + Shift + 3
Behold, the epitome of simplicity as you embark on a quest to screenshot your entire screen. Recite the sacred incantation “Command + Shift + 3” in unison, and lo and behold, your masterpiece materializes on your desktop as a .png file, awaiting your tender caress to grant it a name.
Option 6: How to Take a Moving Screenshot on Mac with QuickTime
To immortalize the journey of opening and closing apps, or crafting wonders within them, the wayfarer may employ the shortcut Command + Shift + 5 or invoke the aid of QuickTime.
1: Unveil the image, video, or audio you seek to capture, or rouse QuickTime Player if it lies dormant in your Applications or the sacred grounds of Spotlight.
2: Traverse the menu bar and seek the sacred “File.” Within it, find the option to capture a recording of your screen, be it the entirety or a chosen fragment. Let the record be etched into history with the button’s gentle press upon the upper left corner.
3: The sacred snap shall manifest as a thumbnail gracing the nether regions of your QuickTime window. Its purpose may be revealed as you journey further, dragging it into another realm or preserving it by invoking “File,” then “Export,” and choosing a sanctified location for its eternal rest. Be mindful, though, for the screenshot’s form shall take shape as a .mov file, shedding its image extension in pursuit of a higher purpose.
Common Problems With Screenshots On Mac
Alas, the path of Mac screenshots is not without its trials and tribulations. Some common quandaries may plague the unwary adventurer:
- Screenshots vanishing into the void, failing to save as expected
- Images materializing as enigmatic black boxes
- Inability to preserve the sacred images
Before surrendering to despair, it is wise to seek solace in examining one’s keyboard keys. Frequent use can wear them down, leading to such vexations. A simple ritual of cleansing with a lint-free cloth and a touch of rubbing alcohol shall ward off dirt’s malevolent influence, ensuring the continued flow of your screenshotting powers.
For those desiring alternative paths, the realm of third-party apps beckons, with options like Capto and Shutter offering fresh possibilities.
Where Can You Find Screenshots?
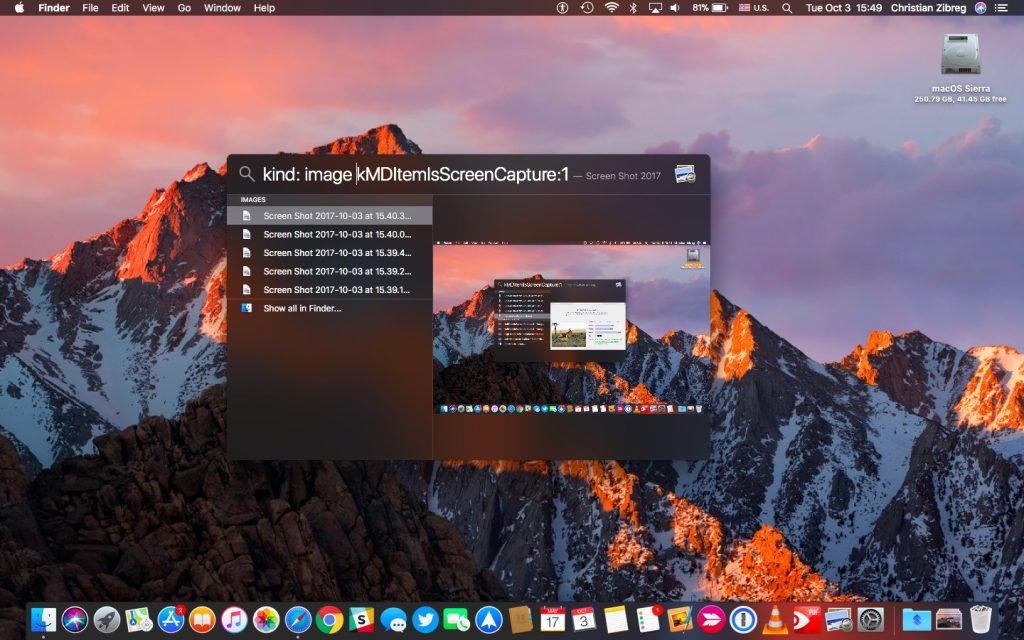
The path to your Mac screenshots often leads to the desktop, where these treasured relics naturally find their resting place. Yet, beware, for an abundance of screenshots may turn the desktop into a chaotic labyrinth.
Fear not, for there exists a gateway within the sacred domain of “Finder.” Venture forth to the top menu bar, and there, beneath the holy “Go,” behold the sacred “Option.” Gaze upon it, and witness the apparition of a wondrous option known as “Desktop,” housing your screenshots in a separate abode.
For those plotting grand quests that demand an archive of screenshots, consider the foresight to create folders ahead of time. Such preparations shall facilitate the swift transportation of captured treasures to their rightful homes.
How to Take a Screenshot on a Mac: FAQs
As any seasoned adventurer knows, a journey is not complete without heeding the call of the FAQ. Let us unveil the answers to these burning questions that traverse the realms of Mac screenshots.
1. Where Do Screenshots Go on Mac?
By default, these ethereal artifacts find their abode on the hallowed desktop.
2. What Is the Shortcut for MacBook Screenshots?
For a basic screenshot on MacBooks, the incantation “Command + Shift + 3” unlocks the secrets of the universe.
3. Is There a Dedicated Program for Taking Screenshots?
Indeed, if the default options fail to satiate your desires, a multitude of advanced Mac Apps beckon, with Clean Shot X among the chosen ones. Should you tire of any, don’t forget the wisdom of parting ways through a gentle uninstallation ritual.
4. How Do I Take a Screenshot of the Touch Bar (Macbook Pro)?
Ah, the elusive touch bar, the very heart of your MacBook Pro. Fear not, for its screenshot is but a different shortcut away. Utter “Command + Shift + 6,” and the magic shall unfold before your eyes.
5. How Can I Have a Screenshot in the Clipboard Instead?
Embrace this ancient rite by holding Command while executing the screenshot, and the image shall be bound to your clipboard, ready to heed your beck and call, traversing realms as you see fit.
6. How Can I Have My Screenshots in Other File Formats Than PNG on a Mac?
Venture into the mystical realm of Terminal, known only to the brave and the learned. By invoking “Command + Space,” Spotlight shall guide your path. Type the sacred command “Terminal” and observe its revelation. There, scribe “defaults write com.apple.screencapture type,” followed by the name of the format you seek: TIFF, GIF, JPG, PNG, or PDF. Should you encounter the realm of bulk text, fret not, for PDFs may be transformed into their textual essence.
7. How Do You Take a Screenshot of a Whole Web Page on a Mac?
Though macOS Mojave boasts a new and mighty screenshot tool, its grasp does not extend to encompass entire web pages. Fear not, dear traveler, for we shall reveal not one but two paths to this elusive treasure:
1. Invoke the realm of Safari, uncover the “Develop” menu, and there, within the “Web Inspection Editor,” the way shall reveal itself. Thereupon, with a single utterance of “Command + Shift + 4,” a minuscule crosshair cursor shall materialize, allowing you to choose any fragment of the web page your heart desires.
2. A different path unfolds, where the sacred QuickTime wields its power. It may also usher you to this cherished treasure, but heed the call of “Command + Shift + 5” or “Command + Shift + 3” to unveil its secrets.
8. How Do You Save a Screenshot as a Picture on a Mac?
To bind your screenshot to the realm of images, journey forth into an image editing program, such as Preview. From there, follow the sacred path of “File > Save As,” and grant your creation the visage of a JPEG or PNG extension. Thus, your masterpiece shall stand resilient, immune to the ravages of resizing that might steal its brilliance.
9. How Do I AutoSave a Screenshot on a Mac?
Fear not, for Mac screenshots, bathed in the gentle light of automation, are born into the world of autosaving. Yet, let it be known that this blessing demands guidance from your hand, leading the image to its destined resting place or establishing an autosave haven.
10. How Do I Print a Screenshot?
Ah, to see your creation take physical form upon the world! The ritual is simple: Take your saved screenshot, whether it hails from Preview or another image editing program, and invoke the power of print.
11. Does Mac Have a Snipping Tool?
In ages past, Mac relied upon a venerable utility known as Grab. With the advent of macOS Mojave, this utility yielded to the mightier Screenshot. Yet, fear not, for the tool remains accessible through the invocations of “Command + Shift + 5” or a pilgrimage to the sacred realm of “Utilities” within the Applications folder.
12. How Do I Rotate a Screenshot on Mac?
Once your screenshot graces the desktop as an image file or a photo file, lo and behold, the power of Preview awaits you. Within this sacred realm, the act of rotation becomes a simple endeavor, for it requires no additional tools.
13. Does Mac Have an Annotation Feature?
Indeed, the scribe shall find a realm of annotation within macOS, a domain known as Preview. It harbors the secret to embedding text, shapes, and other wonders into your cherished images.
14. Why Can’t I Save Screenshots on My Mac?
Take heed, intrepid soul, and ensure your screenshots find refuge in a place of easy access. The woes that assail you may stem from the simple yet vital matter of saving your images to a suitable location. Should the enigma persist, consider a journey to “System Preferences” and the gentle act of “Reset Keyboard.”
Conclusion
With these teachings in your possession, you are now equipped with a plethora of options to capture the essence of your Mac experience. Embrace the power of macOS Mojave’s Screenshot tool, the venerable Grab, or seek aid from the bountiful App Store for more advanced wonders. Let not your questions go unanswered, for the wisdom of the FAQ shall guide you in times of need. Fear not, dear traveler, for you are now well-versed in the sacred art of Mac screenshots, and your journey shall be fruitful and filled with wonders.