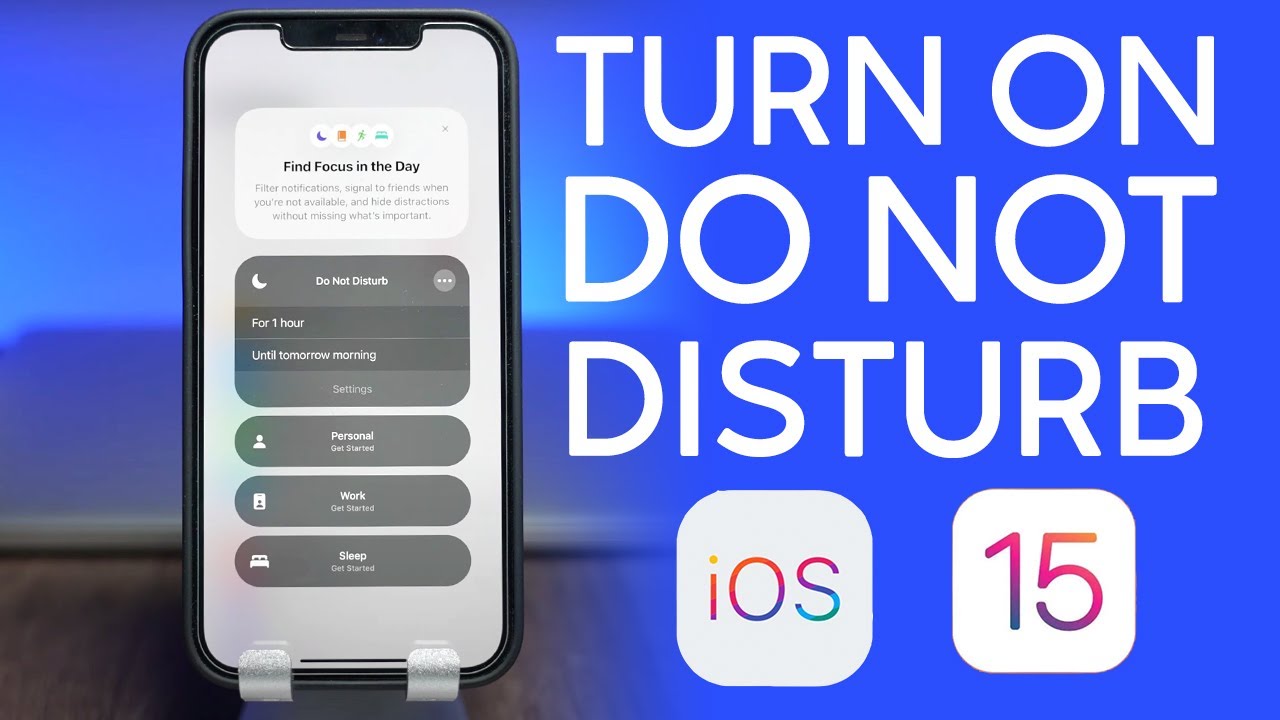
Do Not Disturb mode on your iPhone is excellent for peaceful sleep or focused work without distractions. However, having it on all the time can lead to missed calls, messages, and social media updates. Let’s explore how to turn off Do Not Disturb on your iPhone and prevent this inconvenience. Read on for the easy iOS 15 instructions.
Locating Do Not Disturb on iPhone running iOS 15:
In the iOS 15 update, there have been some minor changes, including the relocation of the Do Not Disturb option. Instead of being directly under Settings, you’ll now find it under “Focus” in iPadOS 15 and iOS 15. Although Focus allows more customization, this might make finding Do Not Disturb a bit tricky.
How to Turn Off Do Not Disturb on iOS 15:
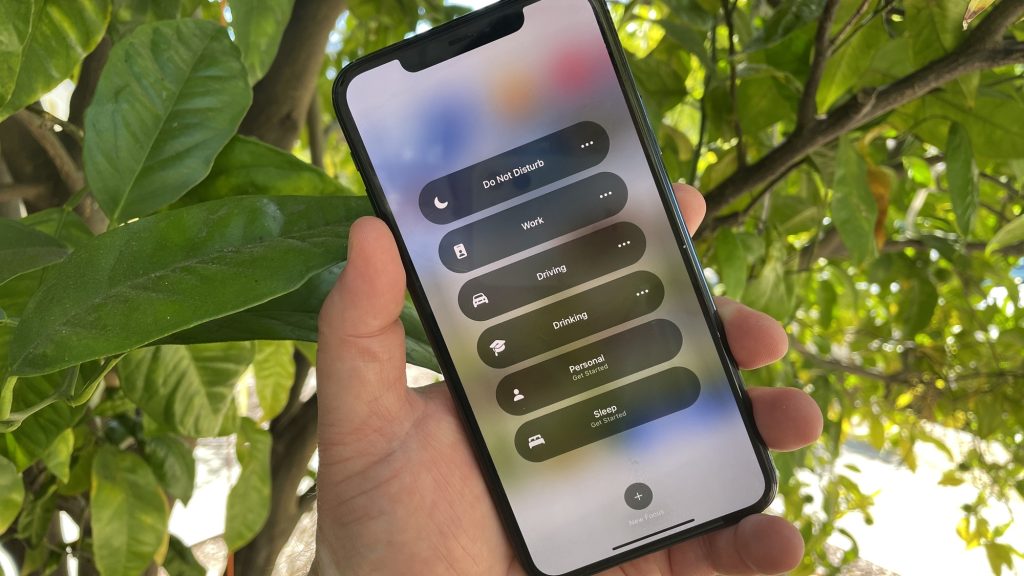
To disable Do Not Disturb on iPhone with iOS 15 or higher, follow these steps:
1. Tap the Settings icon on your home screen.
2. Scroll down and click on Focus.
3. Inside the Focus page, locate the Do Not Disturb button.
4. On the new page, tap the button next to Do Not Disturb to switch it off.
You can easily check the status of Do Not Disturb in the status bar. If you see a crescent icon in the top left corner, the mode is active.
Turning Off Do Not Disturb from Control Center on iOS 15:
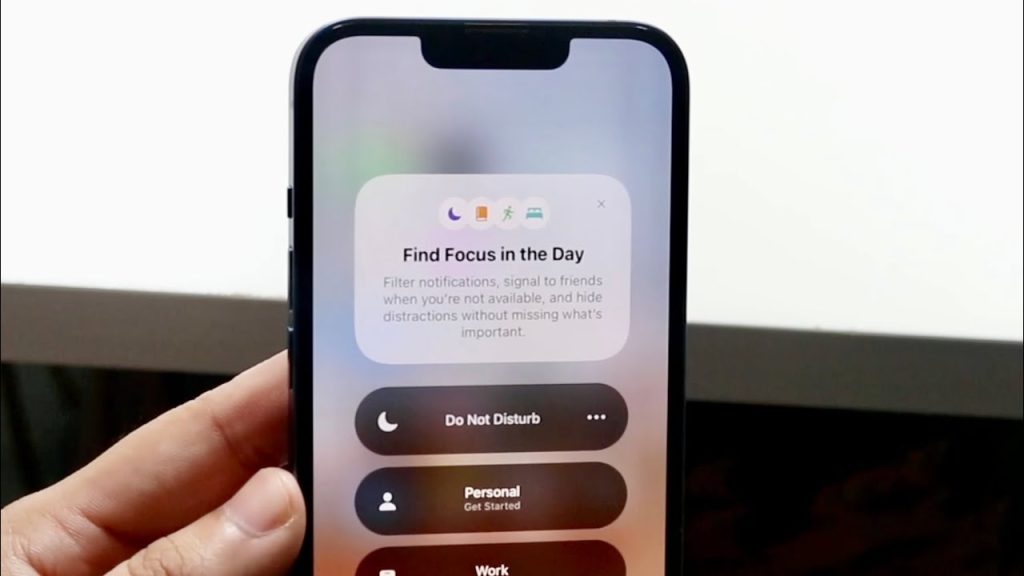
As mentioned earlier, the Do Not Disturb toggle is also accessible through the Focus tab. Here’s how to turn it off from the Control Center in iOS 15:
For iPhone with Face ID:
– Swipe down from the upper right corner of your screen.
For iPhone without Face ID:
– Scroll up from the bottom of your screen.
Look for the Do Not Disturb or Focus option, and tap on it. If the icon is not illuminated, your Do Not Disturb or Focus mode is off.
Scheduling Do Not Disturb on iPhone:
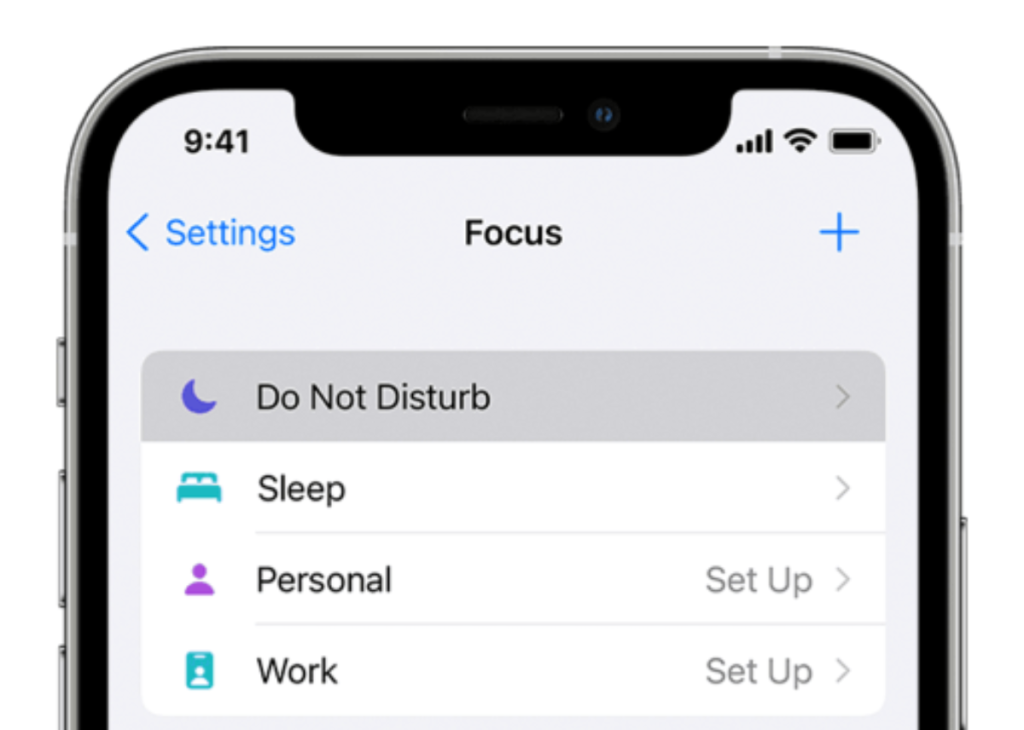
Automating the Do Not Disturb mode can be convenient, as it saves you from manually toggling it on and off. With the Focus feature, you can allow notifications and calls from specific apps and contacts while Do Not Disturb is active. Here’s how to schedule it on iOS 15:
1. Go to the Settings icon on your home screen.
2. Scroll down and click on Focus.
3. Inside the Focus page, locate the Do Not Disturb button.
4. Tap the Add Schedule or Automation button at the bottom of the screen.
5. A new menu called New Automation will appear. Select the Time option.
6. Toggle on Schedule and choose the starting and ending times for the DND mode.
7. In the Repeat section, select the days you want to enable the schedule for.
8. Click Done at the top right side of the window to save the changes.
You can easily turn the DND schedule on and off without deleting the automation.
Frequently Asked Questions:
1. Why Does My Phone Keep Going to Do Not Disturb?
If your phone keeps activating Do Not Disturb unexpectedly, you might have accidentally activated the Set Time feature. This automatically turns on the Do Not Disturb option at the time set by mistake. To disable it, simply switch to Manual mode in the settings.
2. What Do I Do If Do Not Disturb Is Off, but the Phone Doesn’t Ring?
If your Do Not Disturb option is off, but your phone doesn’t ring, there could be various reasons:
– Accidentally enabled Do Not Disturb.
– The iPhone is on silent mode.
– Connected to a Bluetooth device.
– Low ringtone volume.
– Silence Unknown Callers option is on.
– Accidentally blocked the caller’s number.
– Carrier-related issues or unpaid phone bills.
If everything seems fine, try restarting your phone, which might resolve many issues effortlessly.
3. What Is the Bedtime Option?
The Bedtime option allows you to block all data usage during specific times. It’s a useful feature to control usage during periods when you don’t typically use your device’s apps. When the bedtime feature is on, it dims your lock screen, silences incoming calls and alarms, prevents printing from the iPhone, and moves notifications to your history.
Recap: How to Disable Do Not Disturb on iPhone:
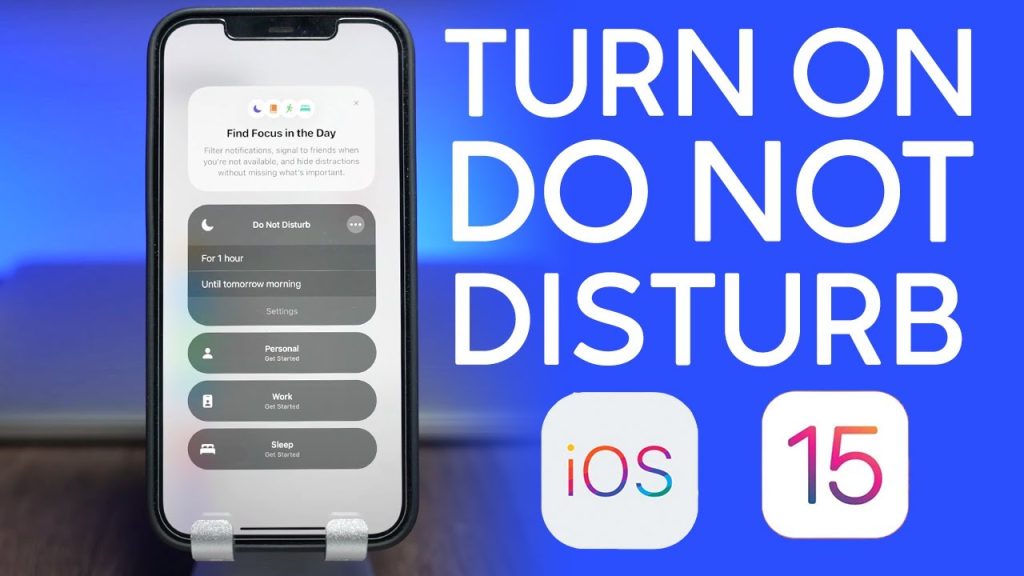
In summary, navigate to the Focus menu to turn off Do Not Disturb on your iPhone. This simple guide should help you disable Do Not Disturb effectively. If you encounter any difficulties, feel free to ask questions in the comments, and we’ll be glad to assist you promptly.
