
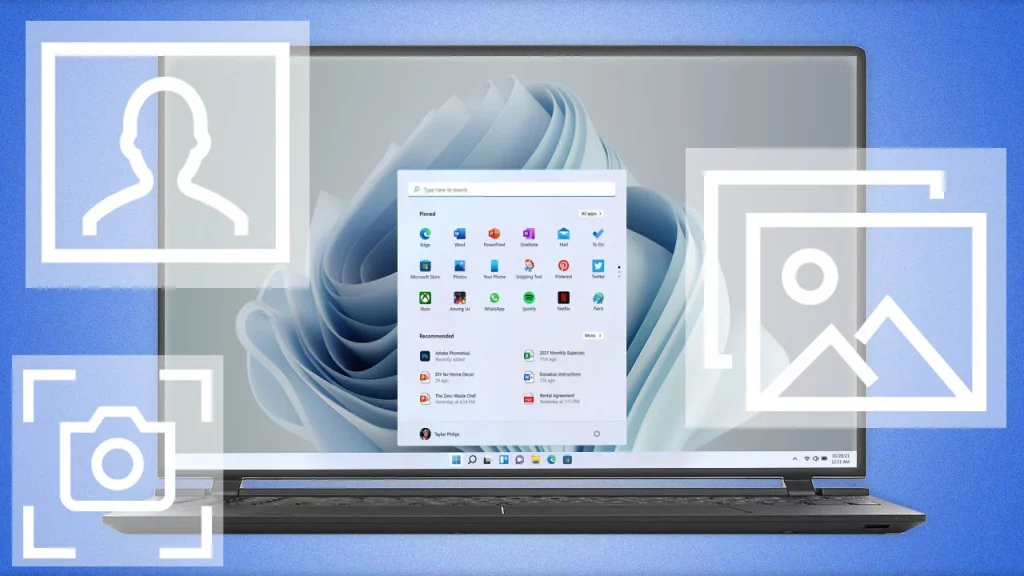
Taking screenshots is a common necessity in various situations, whether for work purposes or simply sharing with friends. Windows 11 offers several straightforward methods to capture your screen. Let’s explore ten simple tricks for screenshotting on Windows 11.
Before we begin, if you haven’t acquired Windows 11 yet, you can find incredible deals on StackSocial, where you can get Microsoft Windows 11 Pro for a staggering 84% discount.
1. Copy the Entire Screen with PrtScn:
To capture the entire screen, locate the “PrtScn” or “Print Screen” key on your keyboard, typically found above the F12 key. Press it, and the screenshot will be copied to your clipboard. You may need to use “Fn + PrtScn” on some compact laptops.
Next, paste the screenshot into an application like MS Word, MS PowerPoint, or a painting tool by using “Ctrl + V” or clicking “Paste.” Don’t forget to save the image by clicking “Save” or pressing “Ctrl + S.”
2. Automatically Save Screenshots with OneDrive:
To streamline the screenshot process, you can use OneDrive. Simply access OneDrive’s settings, choose the backup tab, and enable “Automatically Save Screenshots.” This way, all your screenshots will be conveniently stored in one location.
3. Save Screenshot as a File with Windows + PrtScn:
To directly save a screenshot as a file, press “Windows + PrtScn.” The image will be saved in the “Screenshots” folder in your “Pictures” directory.
4. Copy Only the Active Window with Alt + PrtScn:
If you want to capture just the active window without the need for cropping, press “Alt + PrtScn.” Then, paste the screenshot into an application using “Ctrl + V.”
5. Utilize the Snipping Tool:
Windows 11’s Snipping Tool is a fusion of the Snip & Sketch tool and the original Snipping Tool from Windows 10. To use it, search for “Snipping Tool” in the Windows bar and select it. Customize your screenshot by choosing different modes and delay options.
6. Use Windows + Shift + S for Quick Snipping:
To access the Snipping Tool quickly, press “Windows + Shift + S.” The tool’s options will appear at the top center of your screen, and you can select the desired snipping mode.
7. Customize Print Screen to Launch Snipping Tool:
You can configure the Print Screen key to start the Snipping Tool app effortlessly. Open Windows Settings, choose Accessibility > Keyboard, and enable “Use the Print Screen button to open screen snipping.”
8. Screenshot on Devices Without Print Screen:
For older devices without a dedicated Print Screen key, use “Windows + Fn + Spacebar” or “Volume Up and Power Buttons” on Surface tablets. Some tablets with a Windows logo button may require “Volume Down + Windows” for capturing.
9. Capture Screenshots with the Xbox Game Bar:
The Xbox Game Bar can also be used for capturing screenshots and videos. Press “Windows + G” to launch the Game Bar, then select “Capture” under Widgets to take screenshots or record videos.
10. Try Third-Party Utilities:
For more advanced features, consider using third-party applications like SnagIt, Greenshot, or PicPick. These tools offer additional capabilities such as capturing videos, annotations, and various editing options.
In conclusion, Windows 11 provides a plethora of screenshot methods to suit different preferences and scenarios. Familiarizing yourself with these techniques will undoubtedly enhance your productivity and efficiency in capturing screen moments.