
One of the most common challenges faced by iPhone owners is encountering the dreaded “cannot verify server identity” error, a troublesome issue linked to mail certificate problems.
While this error might initially seem alarming, fear not, as it can be easily resolved using various methods. In many cases, a simple app restart, device reboot, or email reset will do the trick.
Here, we present five easy-to-follow steps to help you tackle this error whenever it pops up.
What Triggers the “Cannot Verify Server Identity” on an iPhone?
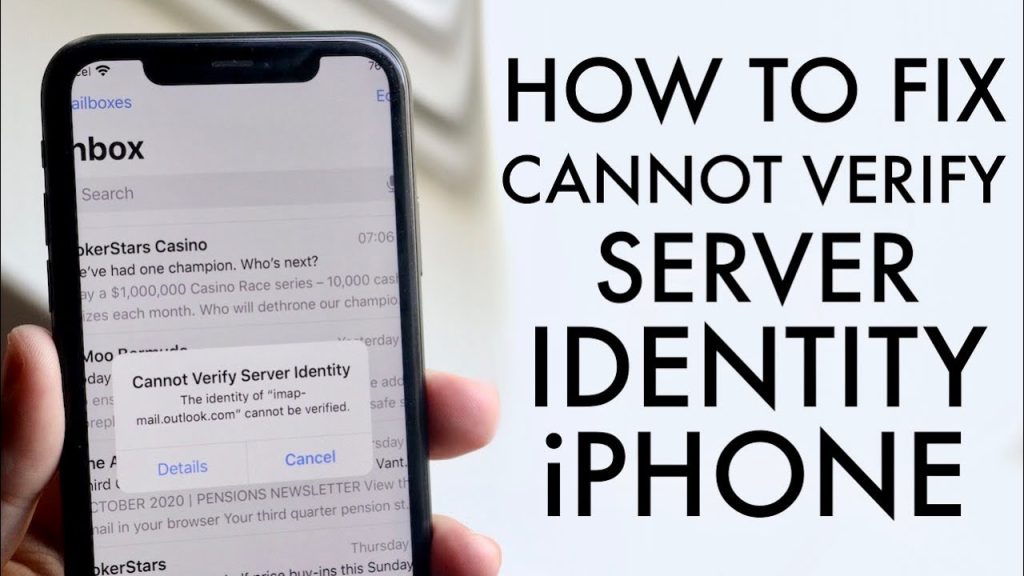
When you keep seeing the message “cannot verify server identity,” it’s a signal that the mail certificate’s server is questionable or lacks security. Whenever your iPhone attempts to connect with a mail server, it seeks to establish an SSL certificate to verify the server’s legitimacy.
If the operating system deems the certificate unreliable, you’ll be greeted with the “cannot verify server identity” error on your screen. This issue commonly arises when:
1. Setting up a new email account on your device.
2. Switching to a different server certificate.
3. Experiencing a glitch in your iPhone’s operating system.
How to Resolve the “Cannot Verify Server Identity” Error
Despite this error causing inconvenience and hindrance while setting up email accounts, it’s typically a simple problem to solve.
Method 1. Close & Reopen the Mail App
The Mail app on your iPhone might harbor a few bugs, and the “Cannot Verify Server Identity” error happens to be one of them. If the app itself is to blame, a quick close and restart could work wonders.
For more recent iPhone models, follow these steps to eliminate “cannot verify server identity” errors by relaunching the mail app:
1. Begin by closing all running apps on your iPhone.
2. Launch the Mail app from the home screen to see if the problem is resolved.

Method 2. Perform a Soft Reboot
If restarting the Mail app didn’t yield results, try giving your iPhone a soft reboot. Surprisingly, a quick device restart can fix numerous system issues.
For iPhone 8 and Older:
1. Press and hold the side or top button (not the volume buttons) for a few seconds until a slider appears on-screen.
2. Swipe the slider to power down the device.
3. Press and hold the side button until the Apple logo appears on your phone screen.
For iPhone X And Newer:
1. Simultaneously press and hold one of the volume buttons and the side button for a few seconds until a slider appears on-screen.
2. Swipe the slider across the screen to power down the device.
3. Press and hold the side button again until the Apple logo appears on your phone screen.
Method 3. Remove and Re-add Your Email Account
Another effective approach is to remove the email account causing the “cannot verify server identity” error and then add it back. This method has proven successful for many users facing similar issues.
Follow these steps to remove and re-add your email account:
1. From your iPhone home screen, tap “Settings.”
2. Scroll down and tap “Mail.”
3. Select “Accounts.”
4. Choose the email account you want to delete and hit the “Delete Account” button at the bottom of the screen. Confirm the deletion if you’re certain.
5. To add your email account back, head to “Settings” > “Mail” > “Accounts” and select “Add account.” Follow the instructions to set up your email account again.
Method 4. Ensure Your iOS Is Up to Date
An outdated iOS could be the culprit behind your iPhone’s inability to verify server identity in 2023. Make sure your iOS is updated to the latest version.
Follow these steps to check for updates and install the latest iOS version:
1. From your iPhone home screen, tap “Settings.”
2. Select “General.”
3. Tap “Software Update.”
4. Your iPhone will check for updates. If there’s a new update available, tap “Download and Install” and follow the on-screen instructions to complete the update.
Method 5. Restore Factory Settings
If all else fails, you may have to restore your iPhone to its factory settings. Keep in mind that this action will erase all data on the device, so be sure to create a backup beforehand.
Follow these steps to restore factory settings:
1. From your iPhone home screen, tap “Settings.”
2. Select “General.”
3. Scroll down and tap “Transfer or Reset iPhone.”
4. Choose the “Erase all content and settings” option and enter your passcode if prompted. Follow the provided instructions to restore your iPhone’s factory settings.
In Conclusion
Dealing with a “cannot verify server identity” error that prevents you from checking, sending, or receiving emails can undoubtedly be a hassle. However, fear not, as this issue is quite common among iPhone users and can typically be resolved in just a few minutes. By following the steps outlined in this guide, you’ll be back to accessing your email accounts as intended in no time!