Working within large organizations often demands effective communication with numerous individuals. To simplify this process, a contact group becomes an essential tool. Though setting it up may take some time, the benefits are worth it, as it relieves the tedium of sending repetitive emails to multiple recipients.
Outlook’s contact group feature, while not without flaws, can be managed with finesse. In this article, we will navigate the process, explaining what a distribution list is, its advantages, and providing a step-by-step guide on creating one. So, let’s delve into this aspect of the Outlook suite.
Pros and Cons of Utilizing Distribution Lists in Outlook
Here are a few advantages and disadvantages of using the contact group feature in Outlook:
Advantages:
1. Simplicity in creation, especially for the tech-savvy individuals.
2. Quick setup, requiring only a few minutes.
3. Availability to all users.
Disadvantages:
1. Possibility of mistakenly sending the wrong email to the distribution list, making recalling bulk emails challenging.
2. Frequent updates are necessary.
3. Early versions may limit the number of email addresses.
4. Some email providers may mark distribution list emails as spam.
Differentiating Contact Groups, Distribution Groups, and Distribution Lists in Outlook
For the most part, these terms can be used interchangeably since they serve the same purpose. Distribution lists were utilized in older Outlook versions, but they were later rebranded as contact groups, as it is easier for most users to understand.
Distribution lists are sometimes managed by higher-ups for the entire company, using a specific address for sending emails. On the other hand, contact groups are commonly used with individual email accounts.
Next, we will explore the step-by-step process of creating a mailing list in Outlook.
Guide: How to Create a Distribution List in Outlook
To master the art of making a distribution list in Outlook, follow these five steps:
1. On the main screen of your Outlook client, locate the “People” icon at the bottom-left. Click it to access the Contacts tab, where you can manage your recipients.
2. In the top-left corner, find the “New Contact Group” option in the toolbar. Click it, and a new window will open, allowing you to create your Outlook distribution list.
3. In the popup window, give your contact group a descriptive name. Opt for a keyword that instantly identifies the group of people. For example, “Accounts Dept” could be used for contacts working in the accounts department. Once you’ve named the distribution list, click on “Add Members.”
4. Upon clicking “Add Members,” a dropdown menu will appear, presenting three options: “From Outlook Contacts,” “From Address Book,” and “New E-mail Contact.” Choose the option that suits you, such as “New Email Contact.”
5. A small window will appear, enabling you to add recipient details. Utilize the “Display name” option to set a name to be shown instead of the email address. Enter the email address and decide whether to add this recipient to your contacts. Click “OK” to finalize the addition to the distribution list.
Congratulations! Your distribution list is now created. You’ll see the contact group listed alongside regular contacts. When you wish to send an email, simply search the group name in the textbox instead of typing individual email addresses, and you can effortlessly send your message to the contact group.
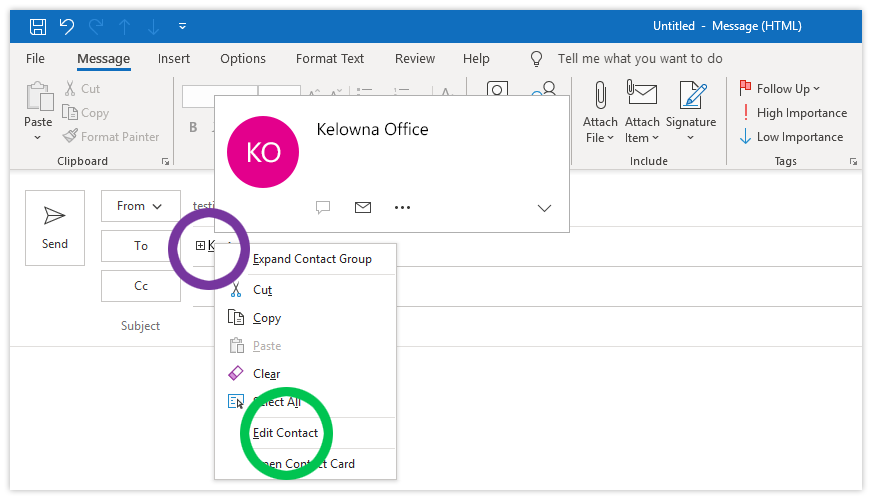
To make adjustments to the distribution list, go to the “Contacts” section and click on the three dots next to the list’s name. Select “Edit Outlook Contact,” which will take you back to the same window in step 3. From there, you can edit the list following the same steps.
Creating an Email Group in Outlook 365 – A Simple Guide

If you’re using Outlook 365 and wish to create an email group, follow these steps:
1. On the main screen of your Outlook 365 web page, find the “People” icon in the left-side toolbar. Click it to access your contacts.
2. In the “People” tab, click on “All contact lists” and then select “Create a contact list.” This will open a window where you can enter the details of your contact list.
3. In the provided window, enter a name for the list that immediately identifies it. As an example, let’s use “Accounts Dept” again. You can add a description in the text box to provide additional information about the list.
4. Enter your contacts’ email addresses in the “Add email addresses” section, and click “Add” to include them in the list. To remove an email from the list, click the cross icon next to the address. Once you’ve made all the changes, click “Create” to save the contact list.
Voila! Your contact list is now ready. Should you need to update the contact list later, follow the same steps by going to the “All contact lists” section in the “People” tab. There, you can perform step 4 to edit the contact list.
Exploring Alternatives to Creating a Distribution List in Outlook
Creating a distribution list in Outlook might prove more cumbersome than it’s worth for some individuals. Fortunately, there are alternative methods to create email groups.
External Tools:
Several email marketing tools, like MailChimp, MailerLite, and Constant Contact, allow you to send bulk emails to your contact list. These platforms provide useful features such as drag-and-drop, tracking, and engagement metrics. However, note that these tools are primarily designed for marketing purposes and may not be the most reliable choice for internal communication.
Microsoft 365 Groups:
For those using Microsoft 365 services, upgrading your distribution lists to Groups might be a viable option. This transition can overcome some of the drawbacks associated with creating contact groups in Outlook. It facilitates team collaboration by enabling file sharing, note-taking, and document management. However, keep in mind that this feature was not originally intended for this purpose, and an active Microsoft 365 subscription is required to utilize it in Outlook.
In Conclusion
Outlook’s distribution list feature can be a tremendous asset, streamlining email communication with multiple recipients by grouping them into a single contact. By following this guide, we hope you’ve gained a better understanding of how to create a distribution list in Outlook and its significance. Feel free to share any questions or explore more Outlook guides in the comments section below.