
Discovering how to add your signature to Word documents may have puzzled you, but fear not! There are multiple ways to achieve this, and they are surprisingly simple. Let’s explore the four different approaches.
The Benefits of Adding a Signature to Your Word Documents

You may ponder why it’s essential to include your signature in Word files. Here are a few compelling reasons:
1. Authenticity: A signature lends credibility to your documents, confirming the identity of the signer. If the file is later exported to a non-editable format, it will unmistakably denote you as the original author.
2. Maintains Integrity: By signing a document, you certify that it hasn’t been tampered with by anyone else, keeping it secure from potential malicious alterations.
3. Prevents Repudiation: In remote communication scenarios, a signature acts as solid evidence of the document’s origin, avoiding any undesirable disputes.
Now, let’s delve into how to craft an e-signature in Word.
How to Add a Signature Line in Microsoft Word

The simplest way to add a signature to a printed document is by including a signature line. Here’s how to do it:
1. Open your Word document and select “Insert” from the menu.
2. Click on “Signature Line” in the “Text” section located in the right-side ribbon.
3. A “Signature Setup” pop-up box will appear. Fill in the required signature details, such as the title, name, and email address of the signer.
4. Add any necessary instructions for the signer.
5. Finalize by clicking “OK.”
You’ll now see a signature line with a cross sign, indicating where the signature should be placed. Feel free to position the signature line anywhere in the document. You can either print the document and sign it manually or save it on your computer and add a digital signature.
How to Add a Signature in Word Using a Picture
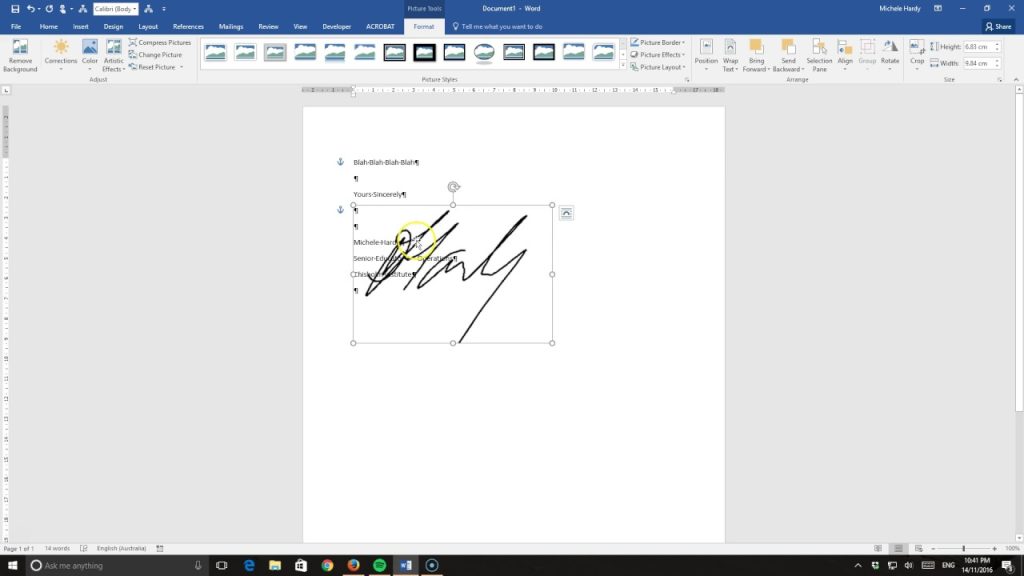
If you have a digital copy of your signature, you’re one step ahead. Adding it is a breeze:
1. Take a clear photo or scan your physical handwritten signature.
2. Transfer the image to your computer and edit it if necessary to improve readability.
3. In your Word document, place the cursor where you want the signature to appear.
4. Select “Insert” and then click on “Pictures.”
5. Choose the image of your signature from your computer and click “Insert.”
6. You can crop the image for a perfect fit if required.
How to Write Signature in Word

If you don’t have a digital copy of your signature, no worries. You can create one using the Draw function in Word:
1. Position the cursor where you want the signature.
2. Click “Insert” and then select “Shapes.”
3. Choose “New Drawing Canvas” from the drop-down menu.
4. Click “Scribble” from the ribbon and draw your signature.
Afterward, you can format and adjust the signature as desired.
How to Add a Signature to Word Document on Mobile

To insert a signature on Word for mobile, consider these steps:
1. Click on the “Arrow (^)” symbol at the bottom right corner of the screen to access more settings.
2. Choose “Home” from the main ribbon and then click “Insert.”
3. Select “Pictures” and then “Photos” to insert the image of your handwritten signature.
Please note that adding a digital signature on mobile requires downloading an add-in.
In conclusion, adding your signature to Word documents is straightforward, whether typed, handwritten, or as an image. If you encounter any issues, feel free to seek help in the comments. Happy signing!