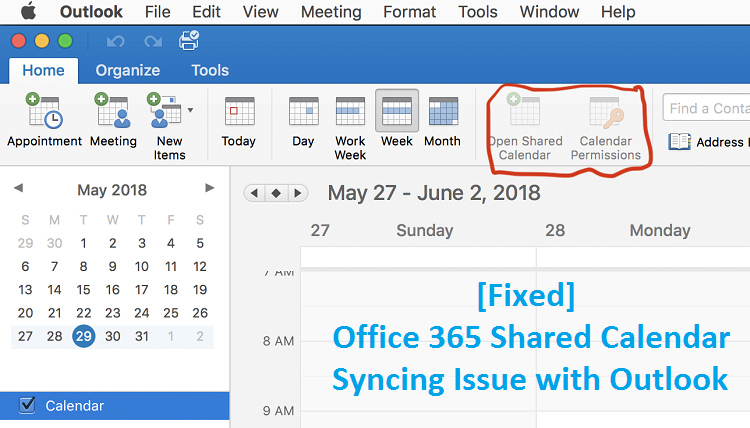
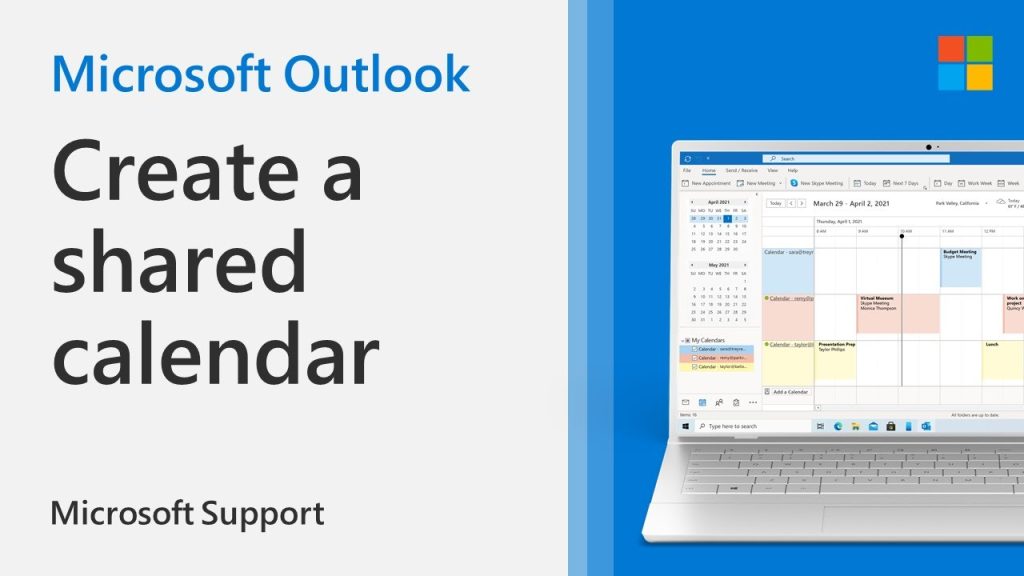
The functionality of Microsoft Outlook isn’t limited to just emails. One beneficial feature it boasts is the ability to share your calendar, ensuring team members or friends stay updated with your agenda and upcoming tasks.
The beauty of this feature lies in its customizable accessibility. Whether you want to grant full insights into your schedule or limit the access, it’s entirely up to you.
This guide provides a comprehensive overview on sharing your Outlook calendar. Let’s get started!
Table of Contents
ToggleVersions and Platforms Supporting Calendar Sharing
Outlook, being versatile, is available on:
1. Microsoft Office Suite’s desktop application.
2. Web-based client.
3. Mobile app version.
Regardless of the version you’re on, calendar sharing remains a constant feature. Let’s explore each platform’s sharing methods.
Why Bother Sharing Your Outlook Calendar?

Think about the following scenarios:
– Keeping business associates in the loop for scheduled meetings.
– Informing friends or family about your availability.
– Sending event invitations.
– Pairing an out-of-office notification with visible vacation days.
Quick Recap: Sharing an Outlook Calendar
1. Click the calendar icon within Outlook.
2. Head over to Home > Share.
3. Determine your sharing preference.
4. Choose the specifics of what details to share.
5. Follow the subsequent prompts.
6. Voila! Shared successfully.
Detailed Steps for the Desktop Version
Despite Office’s numerous versions on Windows, the core steps remain largely consistent. For this guide, we’re focusing on the Office 2019 version.
1. Launch Outlook and log in. The main email interface greets you. Locate and click on the Calendar icon at the lower-left.
2. Once you’ve fine-tuned your calendar, navigate to Home and find the Share section. From here, decide your sharing mode.
3. Within the Share area, there are numerous sharing avenues. For our purpose, let’s explore the E-mail Calendar option. Clicking it reveals sharing settings.
4. A prompt lets you specify date ranges for sharing.
5. You’re also presented with varying detail levels: Availability, Limited details, and Full details. Make your pick, then hit OK. An email draft will populate with your calendar attached.
6. Enter the recipient’s email, and send it off!
Sharing Via the Web Client
To share via Outlook’s online version:
1. Navigate to outlook.live.com and sign in.
2. Click the Calendar Icon. Modify your calendar, if needed, and hit the Share button.
3. A compact window prompts for the recipient’s details.
4. Define the user permissions—either view-only or full editing rights.
5. Click Share. The shared contact gets listed. Modify permissions as needed.
Remember: Deleting a contact removes their calendar access.
Mobile Sharing in Outlook
Outlook mobile’s calendar sharing is event-centric. Here’s the lowdown:
1. Open the app and access Calendar. Create a new event via the blue ‘+’ symbol.
2. Fill in the event specifics and recipients. Finalize by clicking the confirmation tick.
You’re now equipped with the knowledge to effectively share your calendar across devices!

Some FAQs on Outlook Calendar Sharing
How to grant access in Outlook?
1. Visit outlook.live.com and log in.
2. Access Calendar and hit Share.
3. Input contacts and click Share.
Experiencing sharing issues?
A recurring entry in the Permissions list could be the culprit. To rectify:
1. Right-click on the problematic calendar.
2. Navigate to Properties > Permissions.
3. Remove duplicates and restart Outlook.
Creating a shared calendar?
Access the Share feature in the web client and input multiple users. Set permissions individually.
Office 365 sharing procedure?
1. Access your calendar.
2. From the Home tab, choose Share Calendar.
3. An email draft will appear with the attached calendar. Fill in the recipient and send.
Possible to share outside your organization?
Yes! As long as the recipient has Outlook access. If they don’t, a Google Sheets Calendar is a viable alternative.
Concluding Thoughts on Calendar Sharing
Sharing your Outlook calendar is a boon for synchronized planning, whether it’s work meetings or personal engagements. By implementing this feature, you streamline communication and foster a collaborative atmosphere.
We trust this tutorial clarified the calendar sharing process in Outlook. Dive into our other articles for more insights!