While Google Meet stands as an efficient platform for team collaborations and presentations, its screen sharing function is notably helpful. This enables users to project an entire screen, specific tabs, or just a window.
Interestingly, while many video conferencing tools make screen sharing a breeze, Google Meet’s ‘share screen’ function is subtly labeled differently, leading to some confusion.
In this guide, delve into the techniques of mastering screen sharing on both desktop and mobile versions of Google Meet.
Desktop Guide for Google Meet Screen Sharing

To share content from your desktop on Google Meet, a few straightforward steps are all it takes. But first, establish your meeting:
1. Navigate to the Google Meet homepage. Either punch in a meeting code or initiate a *New meeting*.
2. Opt to kickstart it right away or pencil it in for a later time. For this demonstration, let’s say we decided to jump into an immediate meeting.
No major differences exist between sharing on a Mac and PC. For Google Meet’s screen sharing:
1. Spot the *Present now* option located on the bottom toolbar, typically situated left of a trio of dots.
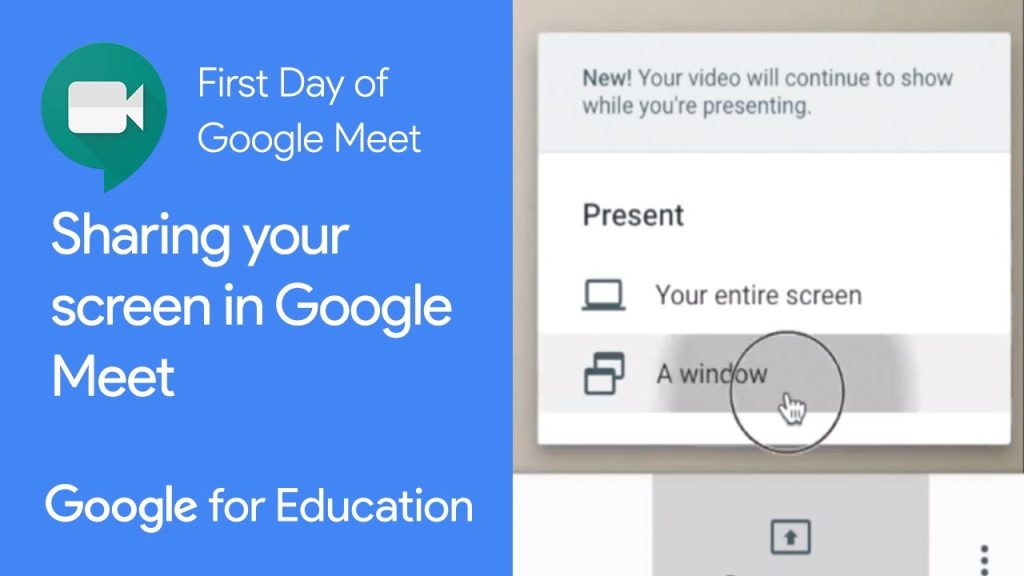
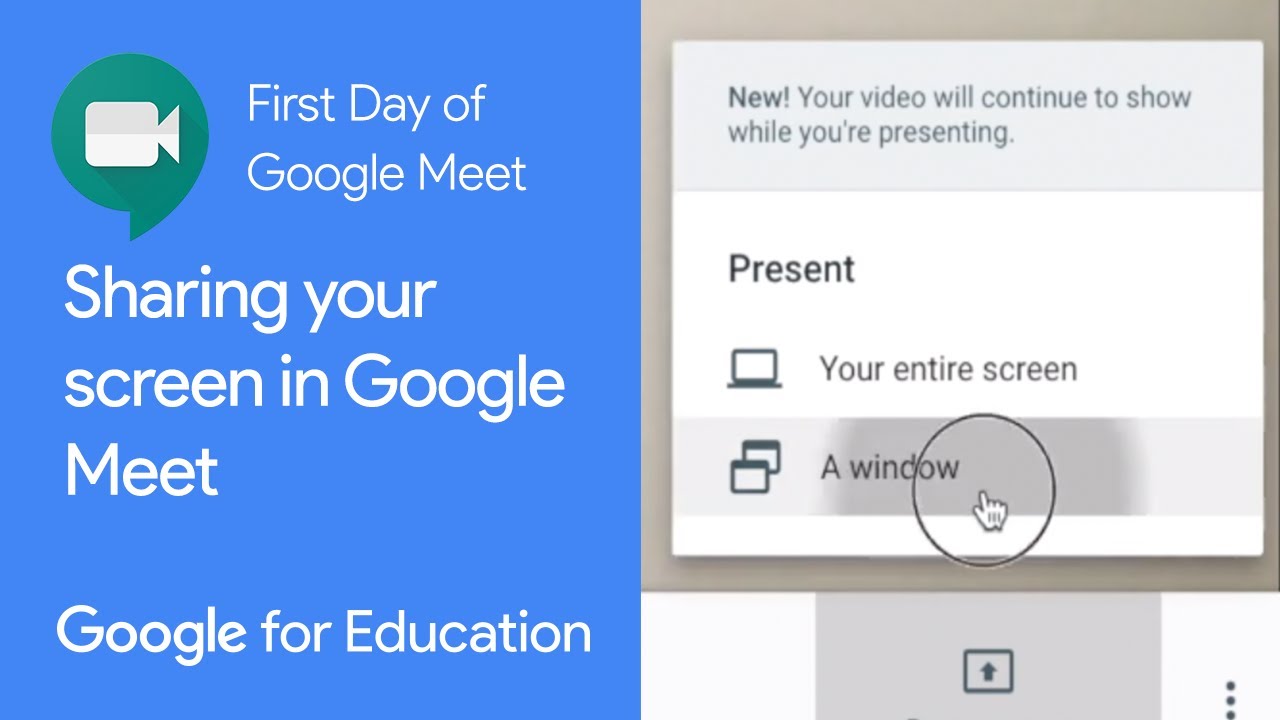
2. Upon selecting, decide whether to broadcast *Your entire screen*, a particular *Tab* or *Window*. Let’s imagine sharing a pre-opened window for this demo.
3. Designate the window you’d like to project.
4. Hit the blue *Share* button to begin.
To wrap up the sharing session, either hit the blue *Stop sharing* button or reselect the *Present now* icon.
Google Meet Mobile Screen Sharing

The mobile version of Google Meet offers a similar screen sharing process. To set the stage:
1. On mobile devices, you can use the Google Meet app or access Meet via Gmail.
2. We’ll be demonstrating using the Google Meet app on Android, but the procedure parallels for iOS.
Setting the meeting is consistent:
1. Launch the Meet app, then enter a meeting code or kickstart a *New meeting*.
2. Either dive in right away or bookmark it for later. For this instance, we opt for an immediate start.
To then share your screen:
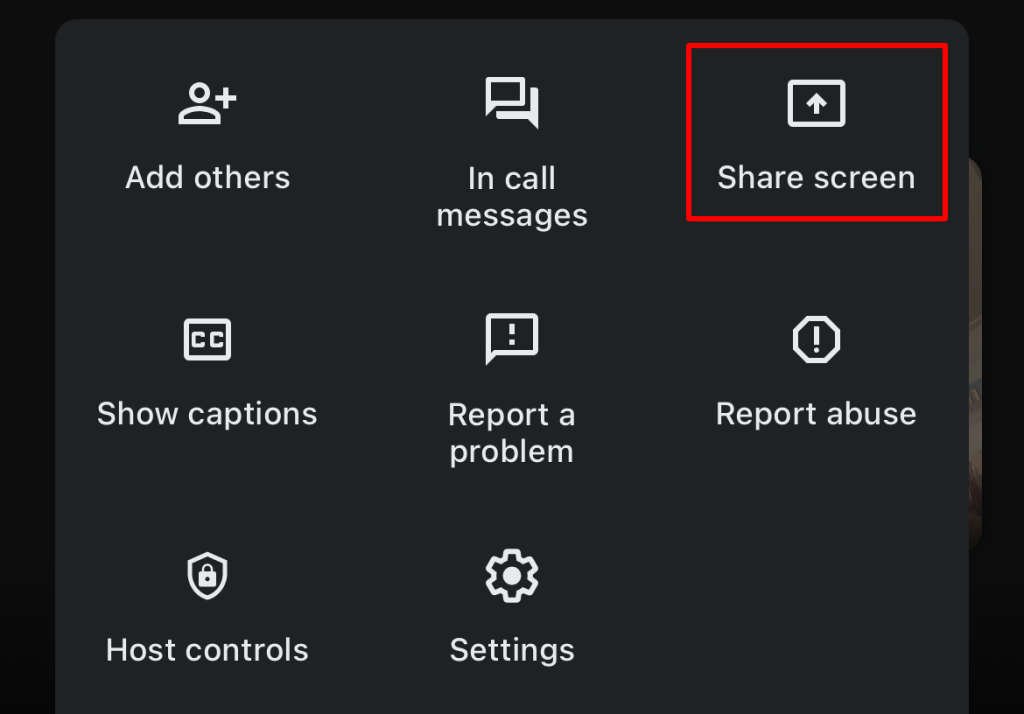
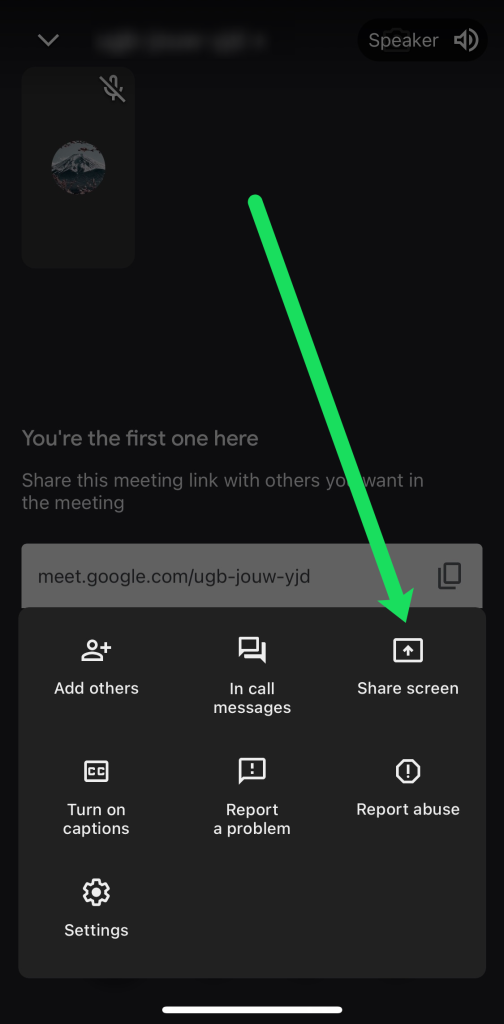
1. Tap on the three-dot icon located at the screen’s base.
2. From the emerging menu, select *Share screen*.
3. A prompt will ask for confirmation. Tap on *Start sharing*. iOS users should tap *Start Broadcast*.
4. To halt, return to the app and select the central *Stop sharing* icon.
Keep in mind, while presenting from a mobile, every aspect, including notifications, gets displayed. It’s prudent to activate the ‘do not disturb’ feature to avert disruptions.
Multiple Participants Screen Sharing in Google Meet
Google Meet permits simultaneous screen sharing by two users. If another member is presenting, simply tap *Present now*, choose your screen segment, and opt for *Present instead*. This highlights your screen to all attendees but pauses the ongoing presentation.
Restrict Screen Sharing
Occasionally, you might wish to limit others from presenting videos with sound on Google Meet. Activate Host Management in Google Meet to grant hosts the authority to disable this feature for attendees.
Steps to toggle screen sharing:
1. Access a Google Meet call as a host.
2. On the screen’s bottom right, tap *Host controls*.
3. A panel slides out, allowing toggling of the *Share their screen* function.
If using a repetitive code for meetings, the configurations are retained. For spontaneous meetings, once the screen sharing is disabled, the settings revert post-session.
Presenting When Another is Already Sharing
Curious if you can present while another is already doing so on Google Meet? Absolutely! Select present now, then the desired tab or window. You’ll receive a prompt saying you’ll supersede the current presenter as the primary one. Contrary to Zoom, Google Meet promotes a single presentation at any time. Thus, your screen becomes the primary focus, though others’ shared content remains visible.
Leveraging a Secondary Device or Window for Sharing
To use another device for sharing in Google Meet, simply join the meeting from both devices, ensuring both have sharing permissions. Alternatively, if opting for another window, the *Present now* option will let you pick your preferred window.
However, a ‘companion mode’ is available that allows two-device screen sharing but restricts audio to one device. This curtails the jarring feedback noise from concurrent device audios.
The First Time Sharing on Mac with Google Meet
On the first go, Mac users need to permit Chrome to share screens. Here’s the procedure:
1. Click on the system preferences in the prompt.
2. Then click *Open System Preferences*, navigating to the security and privacy menu.
3. Unlock settings by clicking the padlock icon at the bottom left and entering your credentials.
4. Next, choose Chrome from the menu. A prompt will suggest restarting Chrome.
5. Reopen Chrome, and you’re set for Google Meet screen sharing.

FAQs on Google Meet Screen Sharing
1. How do I share a screen and view attendees on Google Meet?
– Join a call, click *Present now*, decide what to project, and start sharing. To stop, tap the *Present now* icon or *Stop sharing*.
2. Can I view attendees while sharing?
– The attendees’ panel is auto-enabled. If missing, click *More* then *Show Video Panel*.
3. Why isn’t my screen sharing working in Google Meet?
– An outdated Google Meet version often causes this. Update your browser/app or try an alternate browser.
4. Does Google Meet support screen recording?
– Indeed, but only on desktop. Mobile apps don’t support it.
5. How do I share multiple screens?
– Google Meet allows up to 10 simultaneous presentations.
Concluding the Google Meet Screen Sharing Guide
Google Meet, with its plethora of features, notably screen sharing, has facilitated remote collaborations. Regardless of the device, up to 10 simultaneous screen shares are feasible in a session.
Seeking a tool for expansive meetings and webinars? Consider *ClickMeeting*. Begin free and gauge its prowess!
Having mastered Google Meet screen sharing, you might be intrigued about sharing screens on FaceTime. Dive in to explore!
