How exasperating it is to own a brand-new iPhone and yet encounter difficulties while making phone calls! Don’t lose heart. Often, the resolution to the ‘last line not available’ issue is a swift one. Usually, all it needs is a slight reset of specific settings. Scroll down to learn more about performing these resets.
Deciphering the “Last Line No Longer Available” iPhone Issue
The ‘last line not available’ problem on your iPhone is usually rectified by toggling Airplane mode or performing a Force Restart on your device.
If these solutions don’t bear fruit, below are additional methods for times when your iPhone displays ‘last line no longer available.’ These include wiping out the call log and disabling WiFi calls.
Understanding the “Last Line No Longer Available” iPhone Message
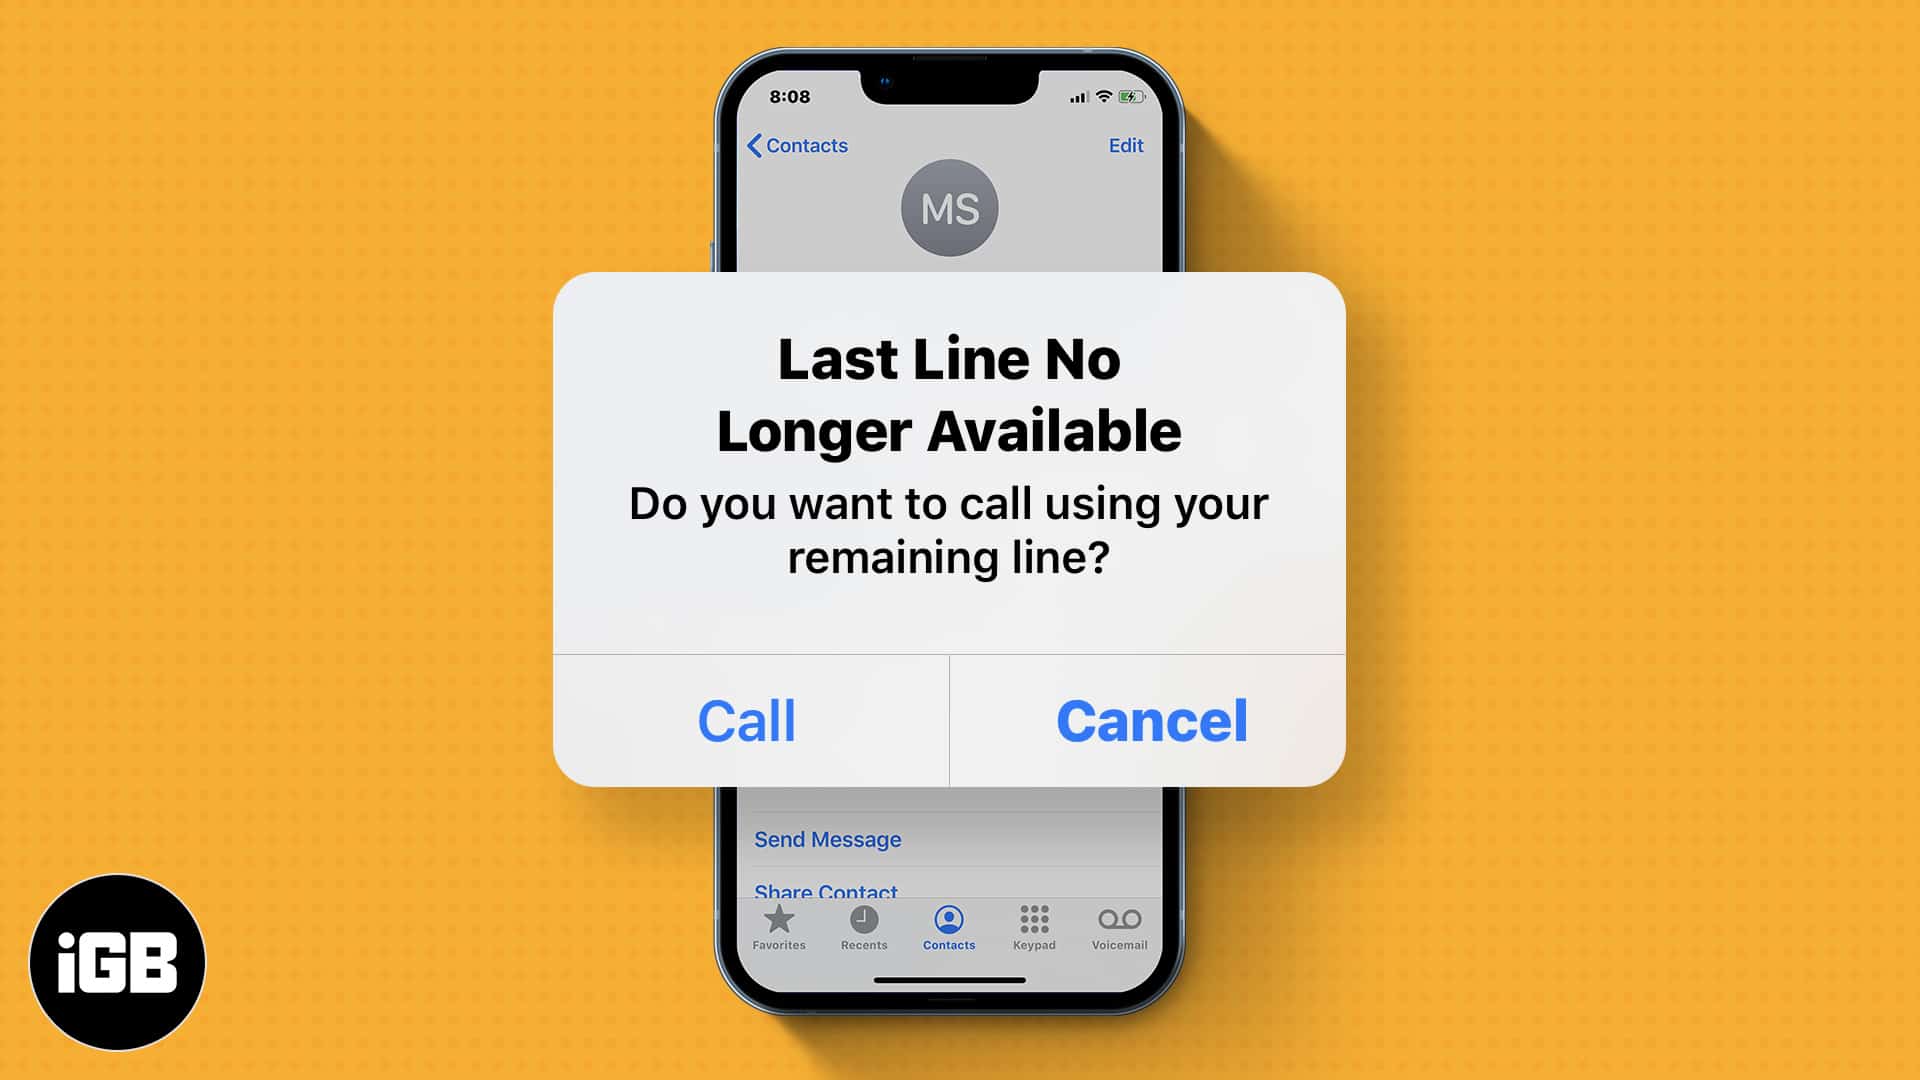
This issue disrupts the chosen line on an iPhone that supports dual SIMs. The problem may occur if your iPhone is connected to multiple cellular plans, including an eSIM and a traditional SIM. Essentially, the error arises when your iPhone cannot determine which phone line to utilize during a call.
This error appears most commonly when you dial out from the default SIM using the recent call history under the Recent tab, especially after you’ve contacted that number from your alternate SIM. An error message may pop up, preventing you from calling your line. To call from a number other than your default, you should touch the Call option on the displayed box.
You may also see the message if you have removed the SIM or if there’s no network coverage currently available for the physical SIM card. There’s a chance it will show up after you record an iPhone call using an unreliable app.
Strategies to Rectify the “Last Line No Longer Available” iPhone Error in 2024
Let’s explore several solutions to fix the iPhone error “last line not available”.
These troubleshooting strategies apply equally well to the iPhone 13 and older models. Yet, sometimes, the ideal remedy to squash bugs is simply to upgrade.
Method 1: Toggle Airplane Mode
Switching Airplane mode on and off is an effective solution for many network-related hiccups. Follow these straightforward steps to do so:
- Swipe downwards from the upper-right corner of your iPhone screen to access the Control Center.
- Here, tap on the Airplane icon located towards the upper-left part of the screen. The icon will turn orange, indicating that Airplane mode is activated.
- After waiting roughly 10 seconds, tap on the Airplane icon once more to disable it, reinstating your network connection.
- Proceed to open the dialer and place a call to any contact through your iPhone’s SIM to verify if the problem has been rectified.
Method 2: Delete Call Log
Many iPhone users who experienced the ‘Last Line No Longer Available’ error found relief by clearing the recent call log. While it might seem peculiar, numerous unconventional solutions have been found to resolve past issues effectively.
Here’s how you can wipe out your recent call records:
- Launch the Phone app on your iPhone.
- You will notice the Recents tab at the bottom.
- Tap on the Edit option at the upper right of your screen within the Recents tab.
- Next, tap on the Clear option located at the top left corner of the screen.
- Confirm your intention to delete your recent call log by clicking on the Clear All option.
- Once you’ve completed deleting the call log, give your iPhone a restart.
- When your iPhone has rebooted, attempt to make a call from the default line. If no pop-up appears, the issue is resolved.
Method 3: Force Restart Your Device
A device restart often eliminates a wide range of problems. It purges temporary and redundant files. The steps to perform a restart vary across different iPhone models, as outlined below:
- iPhone 6 and Older Models: Press and hold both the power and home buttons until the device’s screen blacks out, and the Apple logo pops up.
- iPhone 7: Press and hold both the power and volume down buttons until the device’s screen turns off, and the Apple logo appears.
- iPhone 8 and Newer Models: Press the volume up button, quickly followed by the volume down key. Hold the power button until the
- Apple logo materializes on the screen.
Method 4: Update Your Carrier Settings
Another solution to the ‘iPhone 13 last line no longer available’ problem is to perform a carrier settings update. Such updates often enhance network performance and squash sporadic issues.
To update carrier settings, follow these steps:
- Tap on the Settings app on your primary home screen.
- Click on General, followed by About. You’ll be directed to a new page where you might receive a prompt to update your carrier’s settings.
- Tap on the Update option on the pop-up prompt and wait for a few seconds. After that, check if your iPhone still displays ‘the last line no longer available.’
Method 5: Disable Wi-Fi Calls
While Wi-Fi calling can be exceptionally convenient for iPhone users, it can sometimes trigger the ‘iPhone last line not available’ error. A viable solution to this problem is to deactivate Wi-Fi calls. Here are the steps you need to follow to accomplish this:
- Tap on the Settings app on your primary home screen.
- Here, tap on Phone, followed by Wi-Fi Calling. You’ll be directed to a new page.
- Tap on the toggle beside Wi-Fi Calling on This iPhone to switch it off.
You can also achieve this by delving into the mobile data settings. Following that, check if the ‘Apple last line no longer available’ error persists.
Related Reading: How to Share a Wi-Fi Password on iPhone and Android
Method 6: Reinsert the SIM
If none of the previous methods rectified the ‘last line no longer available iPhone 13 pro max and iPhone 13’ issue, consider removing and reinserting your SIM.
Here’s how:
- Switch off your iPhone.
- Utilize a SIM ejector pin to draw the SIM tray out.
- Pause for a few minutes before reinserting the SIM.
- Once you’ve done that, switch your iPhone back on and try placing a call with the default line on your device. If you still receive the
- ‘iPhone last line no longer available’ error, proceed to the next solution.
Method 7: Update Your iOS
Often, upgrading your iOS can help rid your device of bugs inherent in prior versions. If the previous methods haven’t solved the problem, consider updating your phone to the latest iOS version before attempting more drastic fixes. You can update your iPhone from the settings phone app. Follow these steps to update your iOS:
- Tap on Settings on the main home screen.
- In the settings menu, scroll down and tap on General.
- Tap on Software Update. From here, you should be able to download and install the update on your iPhone.
Once the update installation is complete, reboot your iPhone and see if the issue persists.
Method 8: Reset Your Network Settings
Your network is typically chosen by automatic network selection. If you’re dealing with a network-related issue, resetting your cellular network settings can often rectify the problem. Since the ‘last line unavailable’ issue seems to be related to using an e-SIM, resetting your network settings is worth a try. Here’s how you can reset your iPhone’s network settings:
- Tap on Settings on the main home screen.
- In the settings menu, scroll down and tap on General.
- Here, you will find the Transfer or Reset iPhone option.
- From here, tap on Reset Network Settings.
Remedy 9: Reconfigure All Settings
Another potential solution for the “last line not available” error is to restore your iPhone’s settings to their factory defaults. This is a significant step as it will erase all of your iPhone’s settings. Therefore, before taking this step, it is imperative to back up all of your cellular data to avoid any data loss. Follow these steps to reconfigure all your settings:
1. Tap on ‘Settings’ from your iPhone’s home screen.
2. Scroll down the settings menu and tap on ‘General’.
3. Find and select the ‘Transfer or Reset iPhone’ option.
4. Now, select ‘Reset’ and then choose either ‘Reset All Settings’ or ‘Erase All Content and Settings’.
5. You’ll be prompted to input your device’s passcode, then confirm your decision by selecting ‘Reset All Settings’ again.
Solution 10: Alternate the SIM
To avoid this issue, you could try alternating between the SIMs when making a call. Here’s how:
1. Tap the ‘i’ symbol next to the contact’s number.
2. Alter the default phone number to the other number.
If you’re manually dialing a number, select your regular phone number and then choose ‘Alternate SIM’.
Frequently Raised Queries
What’s the Implication of “Last Line Unavailable”?
This issue usually impacts the selected line on a dual-SIM iPhone. It arises when your iPhone can’t determine which phone line to use. This problem may occur if you have multiple cellular plans linked to your iPhone, using both an eSIM and a traditional SIM card.
How Can I Alter the Preferred Line in iPhone Contacts?
To designate a preferred line for making calls, you can select ‘Contact’ and then ‘Default’. These options can be found below the contact’s name. From there, pick the line you want to set as the default.
Final Thoughts On This Subject
We hope this comprehensive guide has assisted in enhancing your understanding of the “last line no longer available” error on your iPhone and has provided you with effective solutions. Do let us know in the comments which method worked best for you or if you have any further queries.
If you found this guide helpful, you may also be interested in our tutorial on how to share battery life on an iPhone.