
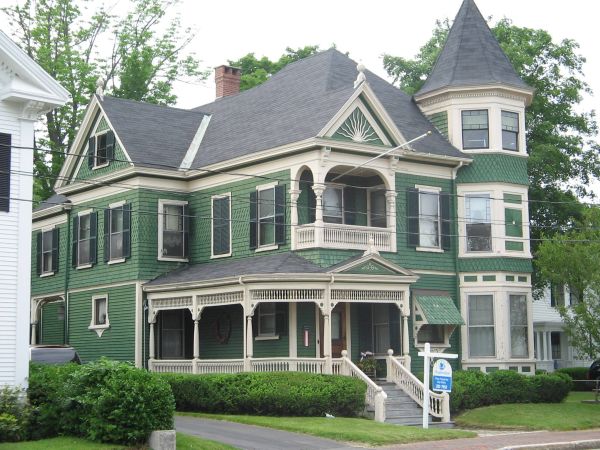
Step-by-Step Guide: Transforming Your Home into a Victorian Masterpiece
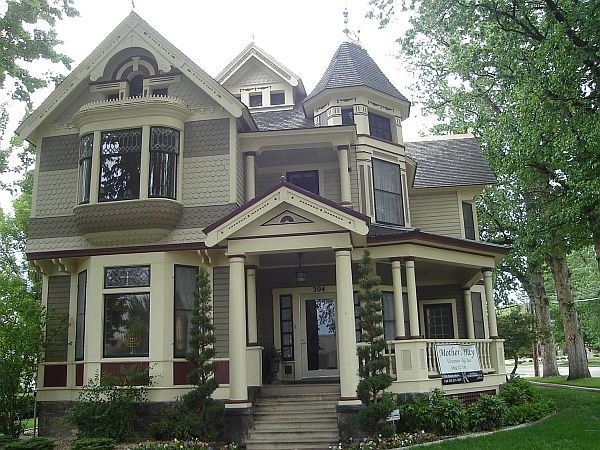
Diving into the realm of Victorian style paint for your beloved home is an opportunity to showcase your unique personality. The vast array of color combinations available allows you to explore a spectrum ranging from subtle and delicate hues to daring and vibrant tones. From the cheerfulness of sunny yellow to the audacity of fiery red, and from the conventional allure of mauve to the gentle elegance of pink, the choices are yours to embrace.
Preparing for the Artistic Journey: Essential Tools and Materials
However, irrespective of the color palette you decide to grace your Victorian dwelling with, it is essential to arm yourself with an ample amount of time and patience before embarking on the painting process. To ensure a smooth and successful endeavor, gather the following tools and materials: bleach, a high-power washer, a disc sander, a protective drop cloth, sandpaper, a face mask for your safety, chalk, a roller, a brush, a paint tray, light-colored natural primer, dark-colored finishing primer, a sturdy ladder, and paint tape.
Step 1: Prioritize Repairs for a Solid Foundation
Before you even contemplate reaching for the Victorian-style paint, diligently inspect your home for any necessary repairs. Splintered clipboards, damaged gutters, small cracks, or any other imperfections that require attention should be addressed promptly before commencing the painting process. By fortifying the structural integrity of your Victorian abode, you lay the groundwork for a flawless transformation.
Step 2: Banishing Dust and Cobwebs: A Fresh Canvas Awaits
To create an optimal painting surface, the walls of your house demand a thorough cleaning. Rid every nook and cranny of dust and pesky cobwebs that may linger in the corners, camouflaged from plain sight. Prepare your home for its Victorian makeover by eradicating these unwanted blemishes.
Step 3: Sanding with Care: A Crucial Preparation

Before commencing the sanding process, ensure that your house is entirely dry. As you embark on the endeavor to remove the old paint, lay down a protective drop cloth to collect the ensuing dust. Shield your face with a mask to safeguard against the fine powder that gracefully descends from the walls during this meticulous procedure.
Step 4: Attention to Detail: Repairing Cracks and Gaps
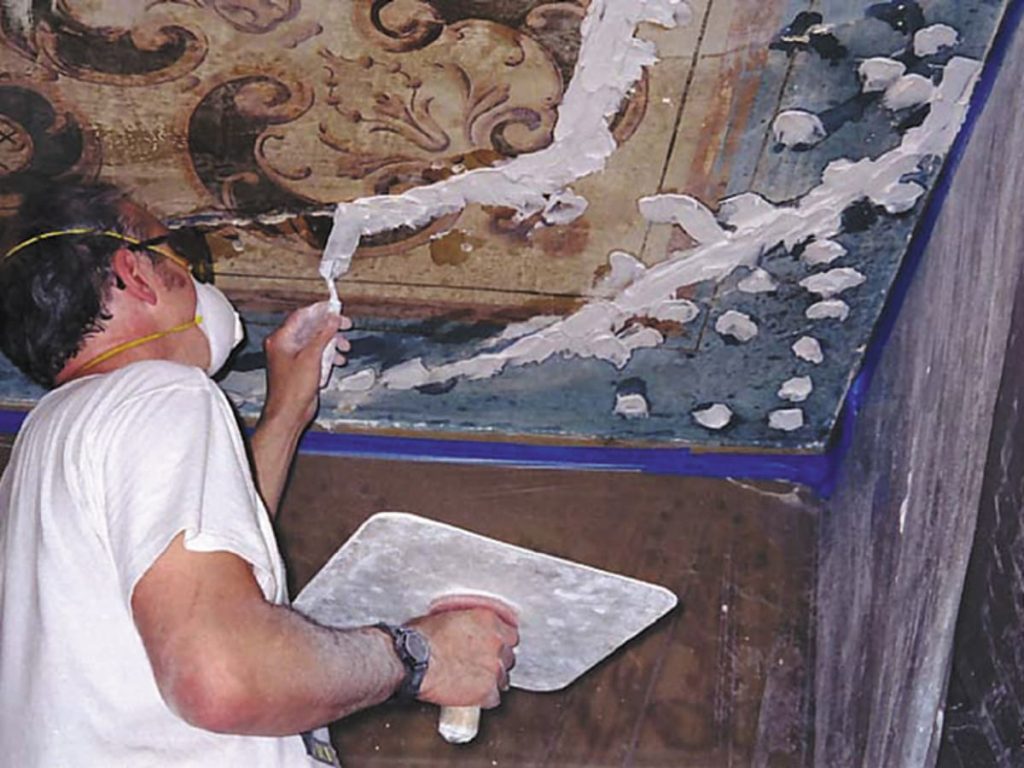
Once your walls have been thoroughly cleansed, conduct another meticulous inspection of your dwelling. Should you encounter any small cracks, promptly fill them with plastic wood. For the gaps left by window frames and sills, employ the versatile remedy of chalk to restore a seamless appearance.
Step 5: Precision and Prudence: Preparing for the Paint
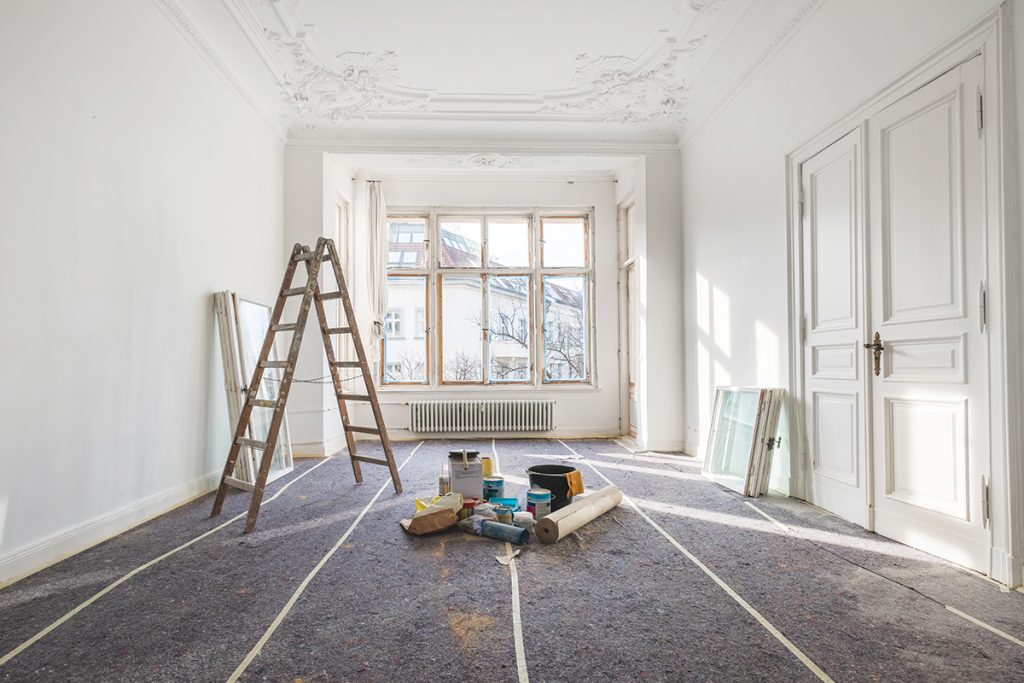
Before embarking on the painting journey, take a moment to tape off any trims and fixtures that do not require an immediate coat of paint. This careful step guarantees a crisp and professional finish. Begin by applying the light primer, allowing it to dry before moving on to the dark finishing layer of primer.
Step 6: A Stroke of Victorian Brilliance: Painting with Finesse
Once the primers have thoroughly dried, it is time to grace your walls with the exquisite Victorian style paint. Apply the colored paint in two layers to achieve an impeccable and refined appearance. Ensure that the primer is completely dry before proceeding with each coat, allowing the colors to flourish and capture the essence of Victorian allure.
By following these carefully crafted steps, your home will undergo a stunning metamorphosis, radiating the timeless elegance of a Victorian masterpiece. Embrace the process, unleash your creativity, and revel in the artistry of transforming your dwelling into a sanctuary of Victorian splendor.