Learning the art of tile flooring installation is a valuable skill that can result in substantial cost savings by allowing you to tackle the project yourself. Contrary to common belief, it is not as challenging as it may appear. The key to success lies in having the necessary tools readily available.
Before you assume a hands-and-knees position to commence the process of aligning your bathroom’s datum line, mixing adhesive, and cutting tiles, take a moment to familiarize yourself with these essential tools. Their inclusion in your toolkit will significantly simplify the job.
Chalk Line
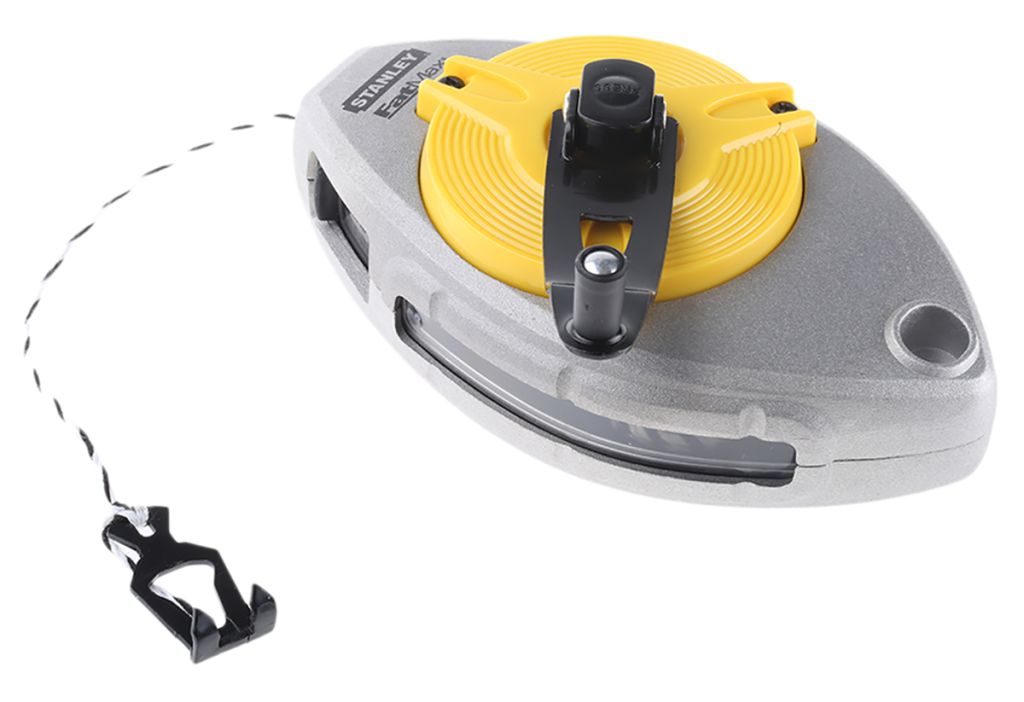
This straightforward carpentry instrument plays a vital role in ensuring straight lines during tile installation, making it a breeze to align the tiles perfectly. Using the tool is a simple affair. After measuring the desired placement for your line, gently extract the line from the tool. As it is initially withdrawn from the packaging, a fine layer of chalk dust will coat the line automatically.
Stretch the chalk line from one end to the other, precisely marking the location where your line should be. With a snap, press it against the floor or wall, leaving behind a clear, straight line that facilitates swift and precise tile installation. Ensure any excess chalk dust is blown away to maintain visibility. The beauty of this tool lies in its forgiveness; if you make an error, a damp cloth can swiftly erase the chalk, allowing you to start afresh.
After utilizing the chalk line, it is crucial to rewind the string, ensuring it retreats into the box. This process replenishes the chalk dust on the string, rendering it ready for subsequent usage. Neglecting to rewind the line not only diminishes the amount of chalk dust on the string but also hampers your ability to create a perfectly straight line, as the line will already be partially extended from the tool.
Bubble Level
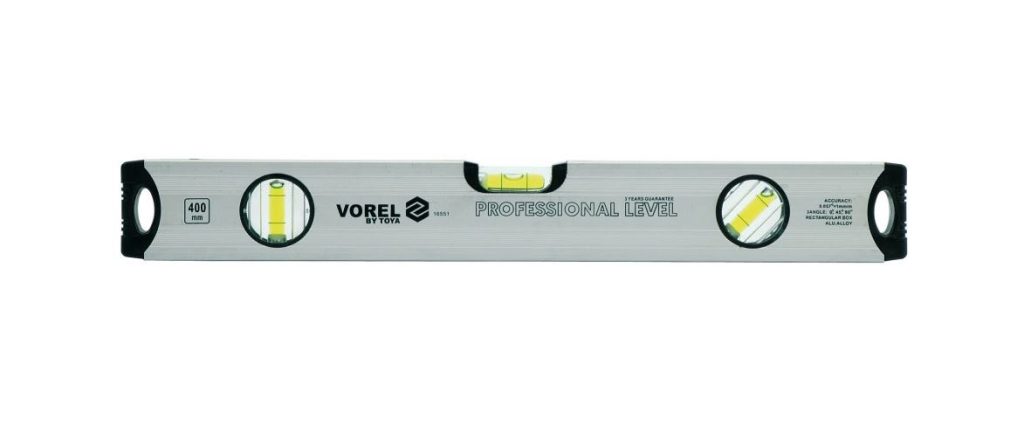
Also known as a “spirit level,” this uncomplicated device is employed to verify the flatness or plumbness of a surface. Equipped with a glass vial clearly marked at the center, the bubble level employs liquid and a bubble within the vial. Due to the slight curvature in the middle of the vial, the bubble naturally gravitates toward the center. Thus, when the level is perfectly flat, the bubble rests in the vial’s midpoint. To ensure level walls during tile installation on vertical surfaces, it is advisable to utilize a bubble level. Its application on the floor is also beneficial, guaranteeing evenness and flatness of the tiles, preventing excess adhesive from causing any irregularities.
When purchasing a bubble level for tile installation, ensure it possesses adequate length. A short level that only spans a single tile will not provide accurate information about the job at hand. Opting for a level that stretches across multiple tiles allows you to assess their levelness relative to one another.
Tape Measure
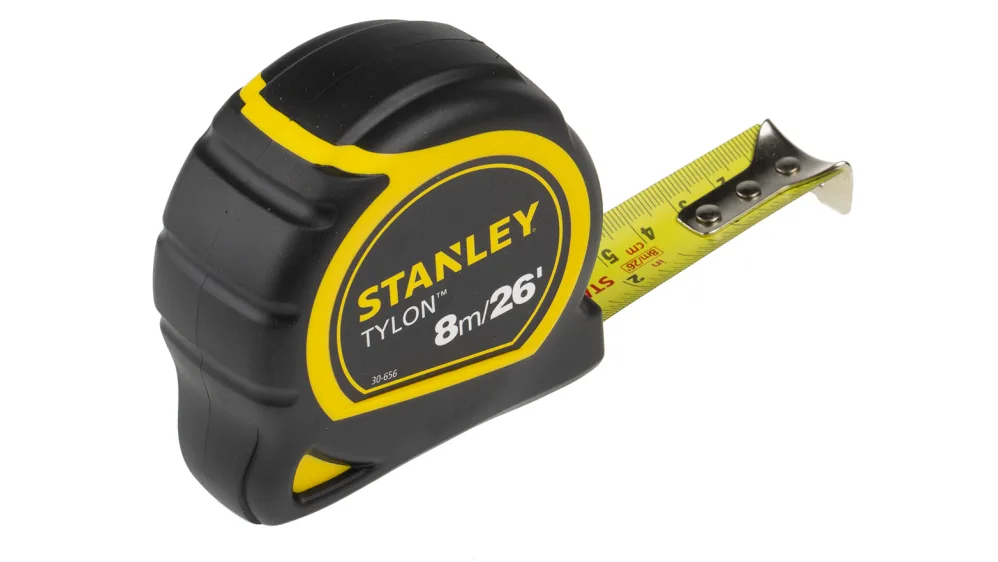
When laying tiles, the tape measure becomes an indispensable companion to the chalk line, ensuring precise measurements and perfect alignment, both parallel and perpendicular. Employing a carpenter’s square to double-check your work will provide assurance that your tiling project culminates in a visually pleasing outcome. Tape measures are available in various styles and sizes. Selecting one that accommodates the length and width of your entire project is vital, as interrupting measurements midway compromises accuracy.
These flexible rulers are housed within sturdy cases. Make sure the tape measure you acquire features an automatic return mechanism and a floating hook at the end, allowing for effortless measurement when working alone. Additionally, opt for a tape measure with detailed fractional measurements, as lacking precision hampers exactness in measurement.
Carpenter’s Square
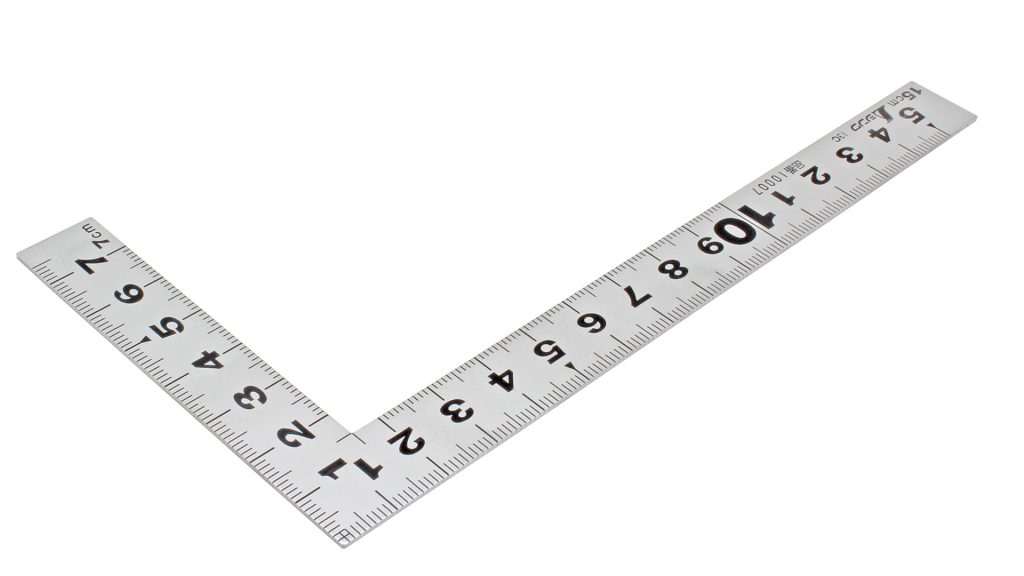
This tool ensures that each installed tile maintains the correct angle. Avoid the predicament of mismatched tiles by checking their alignment as you progress, eliminating the need for rectification after completing the entire job. Carpenter
Square tools can also be used to verify the perpendicularity of guidelines. If the guidelines are askew, a quick wipe and the application of a new guideline using the chalk line will resolve the issue.
Long Straightedge
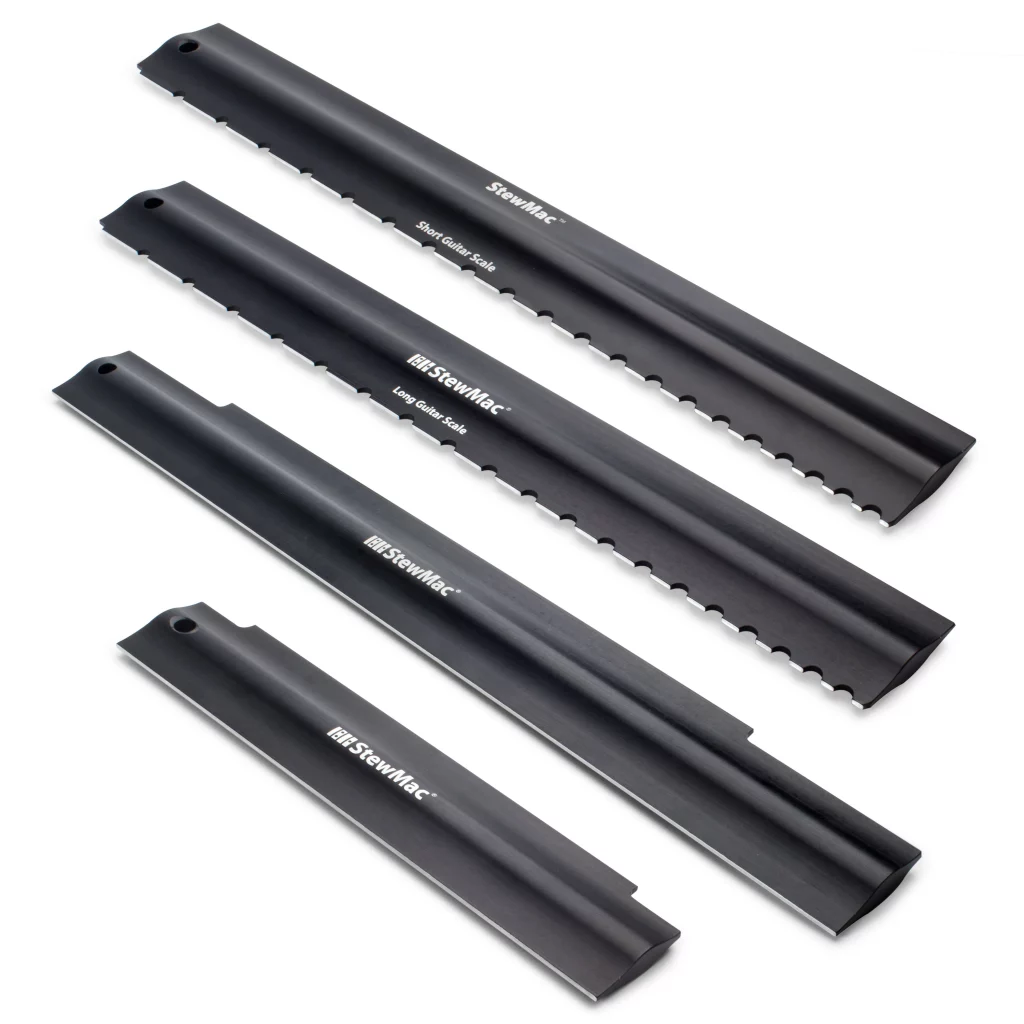
Once the tiles are laid, achieving a perfectly even and straight line becomes imperative. This is where the long straightedge comes into play. While this tool possesses numerous other applications, its role in tile installation involves placing it along the row of recently laid tiles and gently pressing it to ensure evenness and straightness. These tools are notably long, making them ideal for large-scale projects such as kitchens or spacious dining areas. It is not uncommon for them to exceed ten feet in length, allowing users to maintain straightness effortlessly, regardless of project size.
Notched Trowel
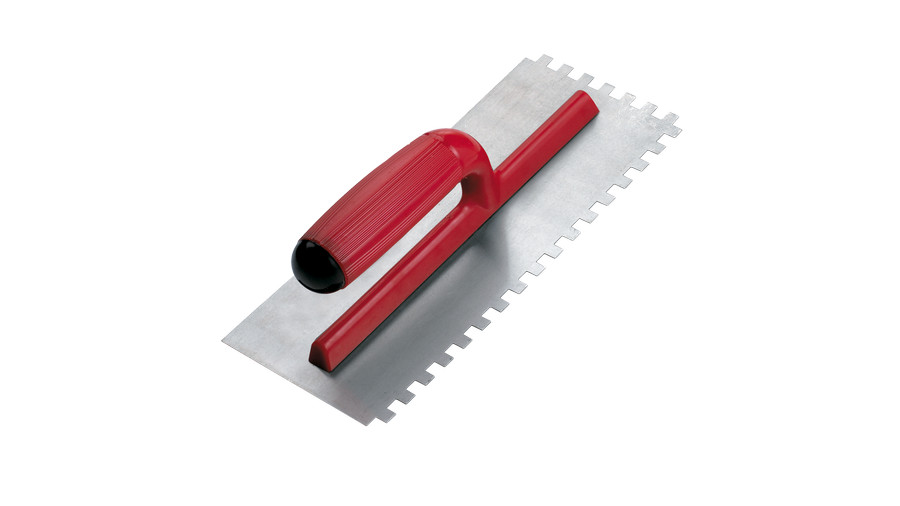
The notched trowel proves indispensable for seamlessly and evenly spreading adhesive to secure the tiles. Its comb-like features aid in achieving uniformity. When selecting a notched trowel, it is advisable to test its ergonomics by holding and maneuvering it. Considering the potentially extensive duration of trowel usage during larger tiling projects, comfort is paramount. The handle of this trowel is uniquely affixed in the middle of the blade. The blade itself boasts notches on one side and the front, while the opposite side and back remain unnotched, facilitating adhesive collection and transfer to the designated area.
Three distinct notch shapes are available for selection. V-shaped notches are perfect for hardwood floors and vertical tile installations, such as bathroom walls or kitchen backsplashes. U-shaped notches, on the other hand, find utility in vinyl installations. Square-notched trowels prove versatile, serving vinyl, hardwood, and tile installations. When choosing a trowel, consider its appropriateness for the task at hand, as different trowels possess varying thicknesses.
Square trowels with a 0.25-inch thickness are ideal for tiles measuring eight inches square or larger, while a 0.5-inch thick notched trowel becomes necessary for applying medium bed mortar required for quarry tiles. Regardless of the chosen trowel, be diligent in washing off excess adhesive upon completion, as failure to do so may result in dried-on residue that is time-consuming to remove and may damage the trowel.
Mason’s Trowel
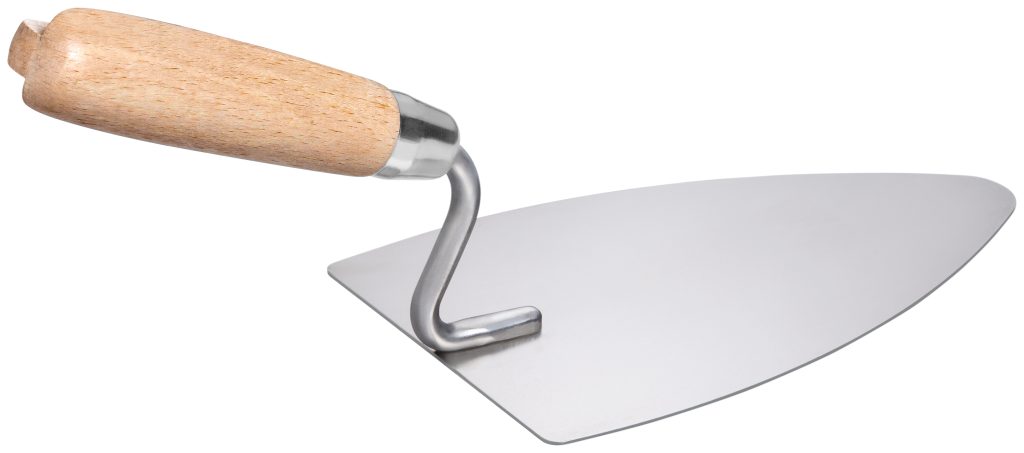
Distinguished by its pointed front, the mason’s trowel differs from its counterparts that feature blunt ends. While it may not excel at transferring adhesive to the floor or wall during tile placement, it becomes invaluable in small spaces, ensuring perfect leveling and smoothing of adhesive. These trowels are instrumental in spreading, leveling, and shaping the adhesive. After applying the adhesive with another trowel, employing the mason’s trowel guarantees a flawlessly flat surface.
This meticulous attention to detail proves especially critical in narrow or confined areas. By utilizing the mason’s trowel, you can be confident in achieving the desired smoothness. Although this additional step may appear burdensome, failing to achieve uniform smoothness across the surface risks unevenness and potential tile displacement. Mason’s trowels possess handles extending beyond the trowel end, granting users enhanced control and precision.
Narrow Margin Trowel
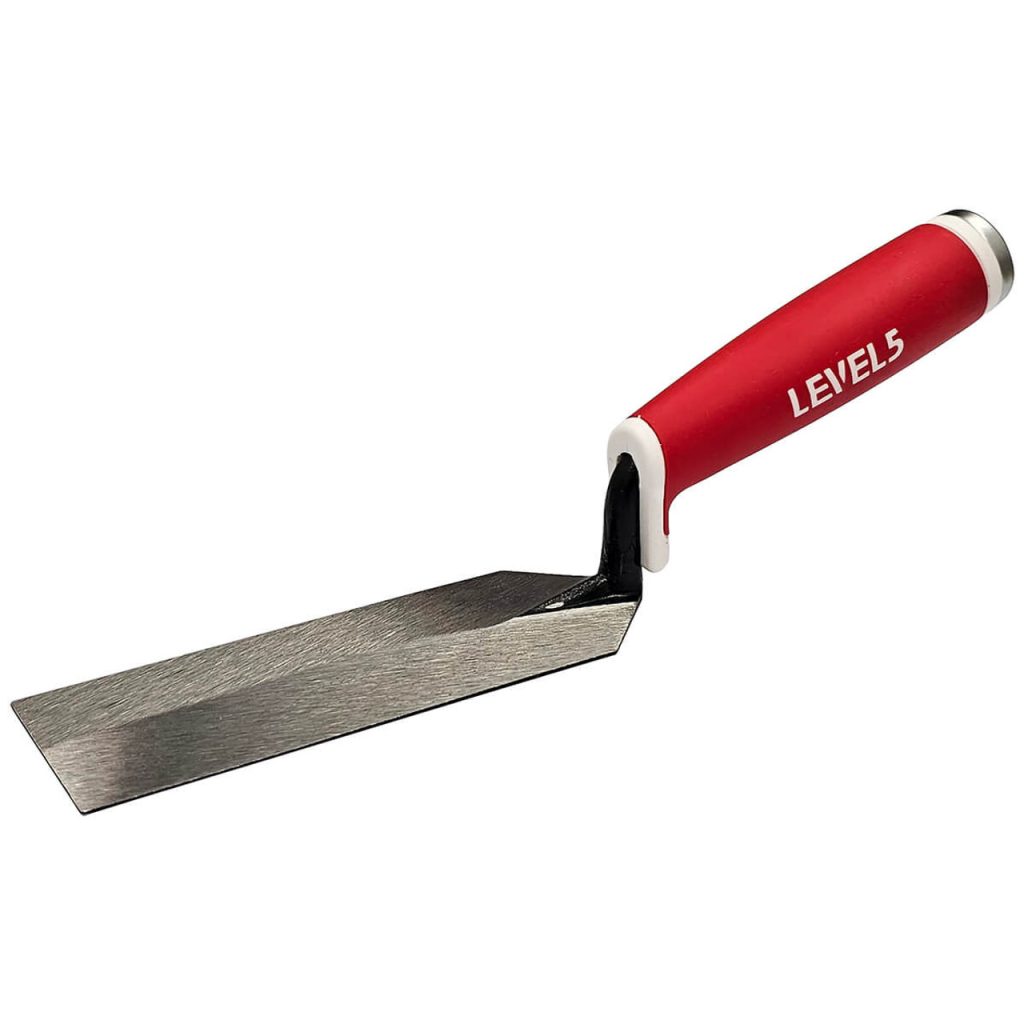
In addition to the mason’s trowel, a narrow margin trowel can be essential for accessing tight spaces and achieving adhesive smoothness. While some may believe one of the two trowels suffices, possessing both is a prudent decision. The narrow margin trowel proves invaluable, particularly when equipped with either a pointed or blunt end. The blunt-end variation excels in narrow, rectangular spaces where maneuvering a mason’s trowel proves challenging due to its pointed blade.
Opt for a narrow

margin trowel that feels well-balanced in your hand and offers ease of control. This tool serves as a valuable asset in ensuring precise adhesive application and achieving a smooth surface.
In conclusion, mastering the art of tile flooring installation involves acquiring and utilizing the appropriate tools. From the chalk line for marking straight lines to the bubble level for ensuring level surfaces, each tool plays a crucial role in the tiling process. The tape measure and carpenter’s square aid in accurate measurements and alignment, while the long straightedge ensures evenness. The notched trowel spreads adhesive uniformly, while the mason’s trowel and narrow margin trowel guarantee precise leveling and smoothness. By incorporating these essential tools, you can embark on your tile installation project with confidence, achieving professional-looking results while saving on costs.